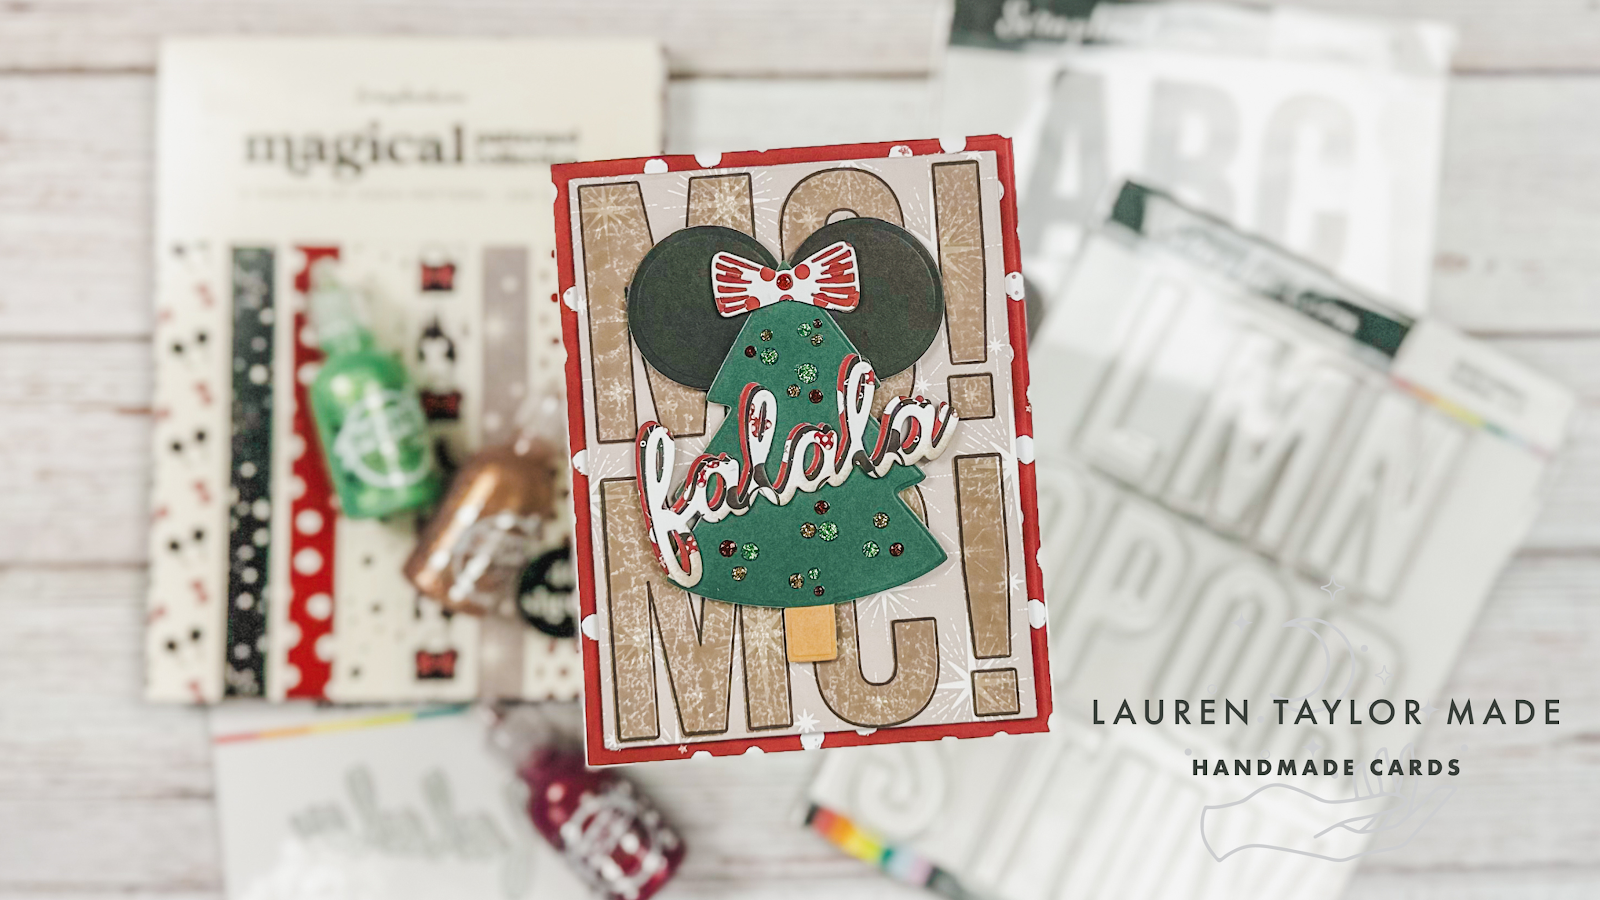
Did you know that Scrapbook.com has a line of Magical patterns for pocket scrapbooking and now in a 6x8 paper pad?! I am a big Disney fan and I just love that I now can use some of my favorite designs from the Magical pocket cards on actual cards. I have a few patterns on this card and I'll walk you through how I put together this mouse themed Christmas tree card!
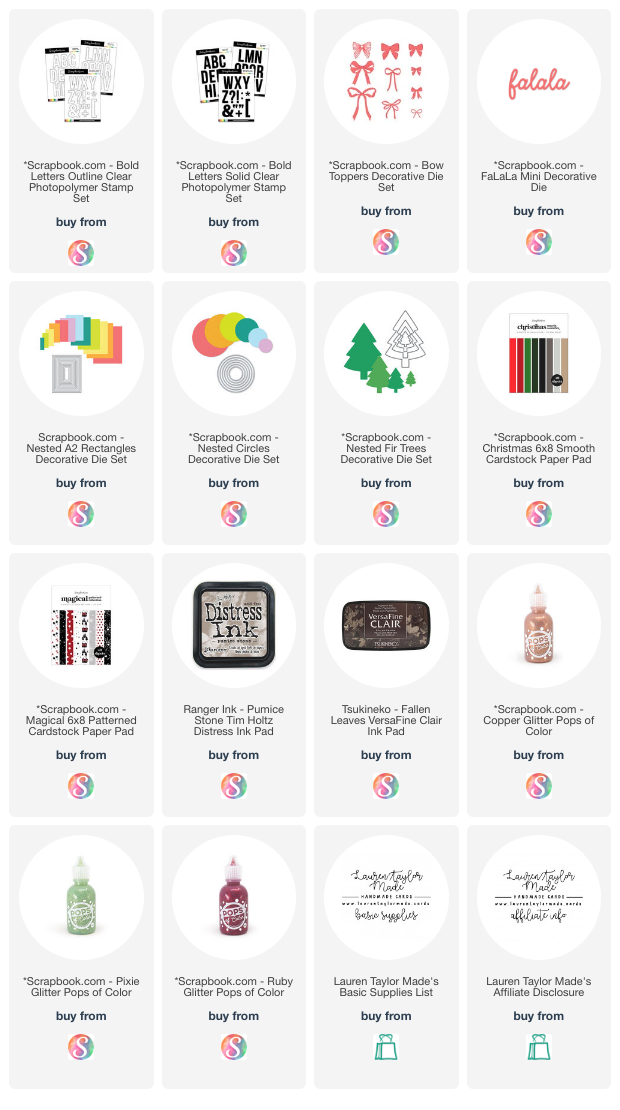
I started with cutting my warm grey star patterned paper with the second largest A2 rectangle die from the nested set. I used my MISTI to help me stamp the Bold Letters in Solid "MC!" for Merry Christmas! I stamped them twice with Pumice Stone Distress Ink. Using my MISTI again, I lined up the Bold Letters in Outline to create a darker edge to my stamped letters and this time with Fallen Leaves VersaFine Clair Ink. I popped up this layer with foam adhesive to my background of the red and white polka dot patterned paper which is already cut to an A2 size on a card base.
 |
 |
Next I cut my tree and sentiment - the tree is green and kraft brown cardstock, the "ears" are from black cardstock (all from the Christmas 6x8 pad), the bow and falala sentiment are die cut from more patterned paper from the Magical 6x8 pad. I assembled my tree together, added the circles and mouse ears and trimmed down my bow to fit on the top of the tree. I layered my falala die cuts together and added a little Pumice Stone Distress Ink to the bottom with a soft brush.
All of these layers were glued together with liquid adhesive and then popped up with foam adhesive to the middle of the card base. For final touches, I added Pops of Color in Glitter in sets of three around my Christmas tree in colors Copper, Pixie and Ruby. I hope you enjoy this non-traditional Christmas card and you check out all of the Magical collection at Scrapbook.com!


Post a Comment