Happy Fall with Hello Bluebird Stamps

Wednesday, November 20, 2024

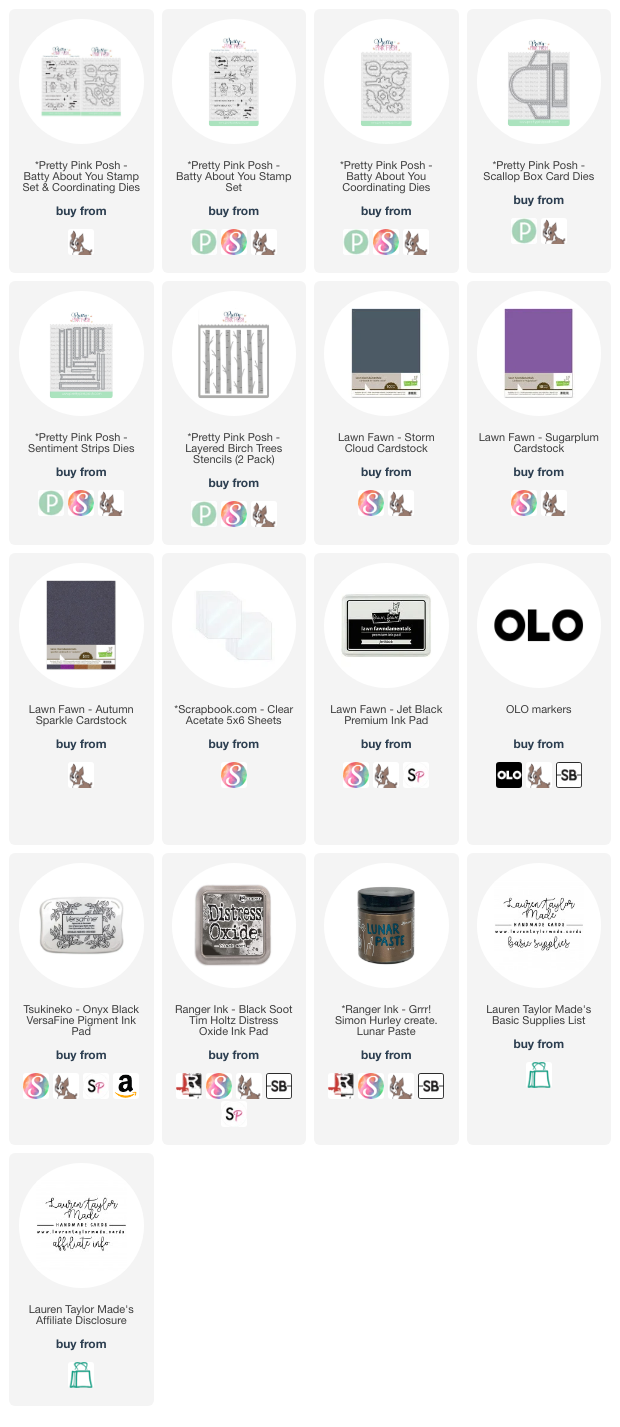
As we're approaching the winter season, but I'm still clinging to autumn with this fall card using product from Hello Bluebird stamps! These products are from their last set of kits, so unfortunately these products are not currently available. But I'm sure you have some fall themed squirrels and leaves in your stash! Which is one of the reasons I love being a part of the Oh So Inspired Collaboration Team - really encouraging everyone to use your own products and be inspired for cards you see on social media.

You can hop along with the OSIC Team by watching my video on YouTube below - my description box has that playlist ready to go for you. I used the inspiration for this month when picking my products (leaves) and colors (pink, orange, yellow and brown). I hope you like my take on the inspiration this month and I cannot wait to hop along myself to see what everyone has made.

VIDEO TUTORIAL


PIN THIS
SUPPLY LIST

Read More

Action-Packed Holiday Shaker Card with Trinity Stamps

Monday, November 18, 2024

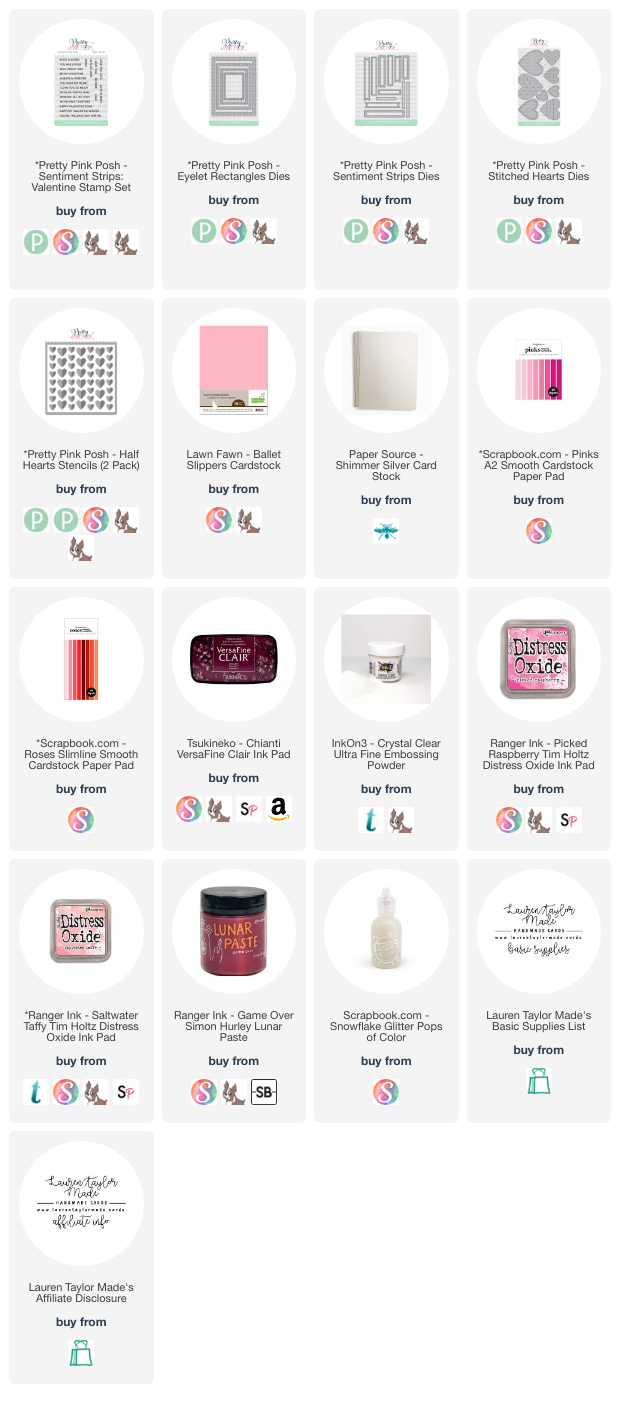
I'm happy to share that I'll be making more short videos for Trinity Stamps again! I officially start back up in January, but wanted to get one in for the upcoming holiday season. I have my short down below, but I started with making my background using watercolor cardstock and Distress Inks. I used three different Checkered Background Stencils from Trinity to create my background. The trees were added with Astro Paste so they have a beautiful shine to them!
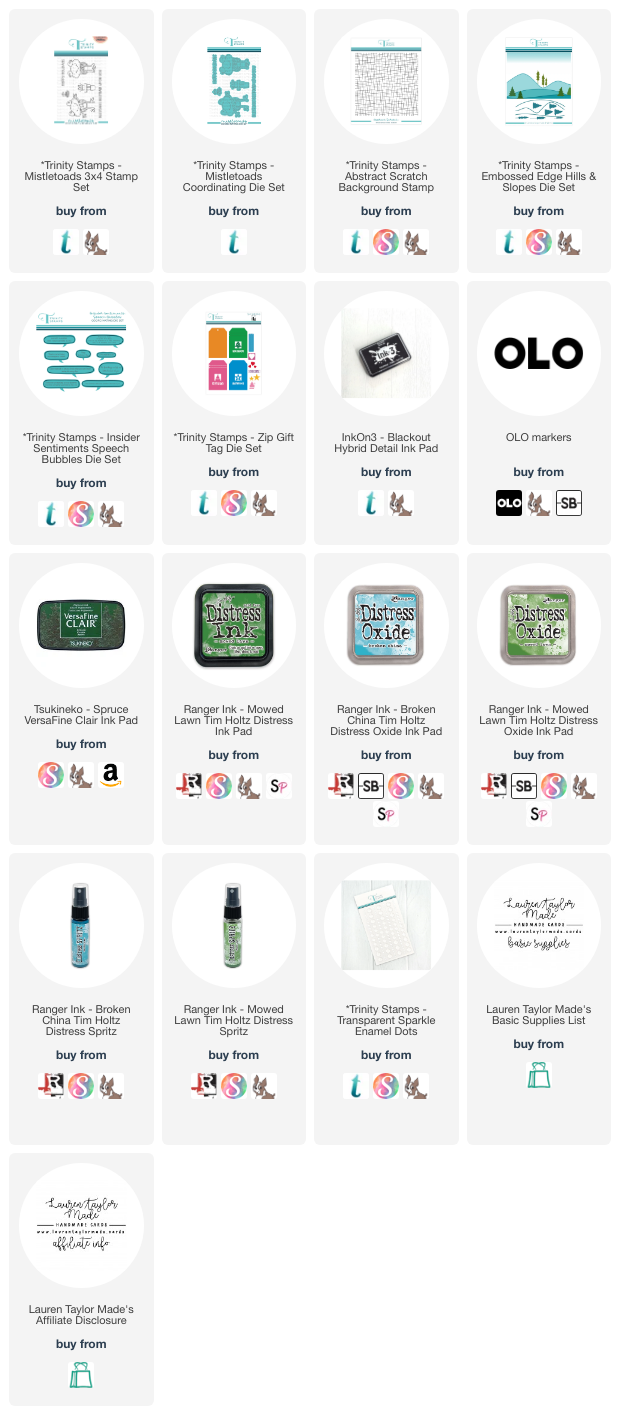
My images were stamped with an alcohol markers on kraft cardstock and colored in with Ohuhu Art Markers. I didn't take my stamps out of my MISTI, and then stamped them again with a VersaFine Clair ink as well as my sentiments. I used the coordinating dies to cut them out. After I put together my shaker panel, I added some scalloped strips and my stamped images and sentiments with thin foam adhesive.

I'm so excited to be working again with Trinity Stamps - I absolutely love their company and just how much they care for their Design Team!

VIDEO TUTORIAL


PIN THIS
SUPPLY LIST

Read More

Flippin' Awesome Easel Card with The Sassy Club

Saturday, November 16, 2024

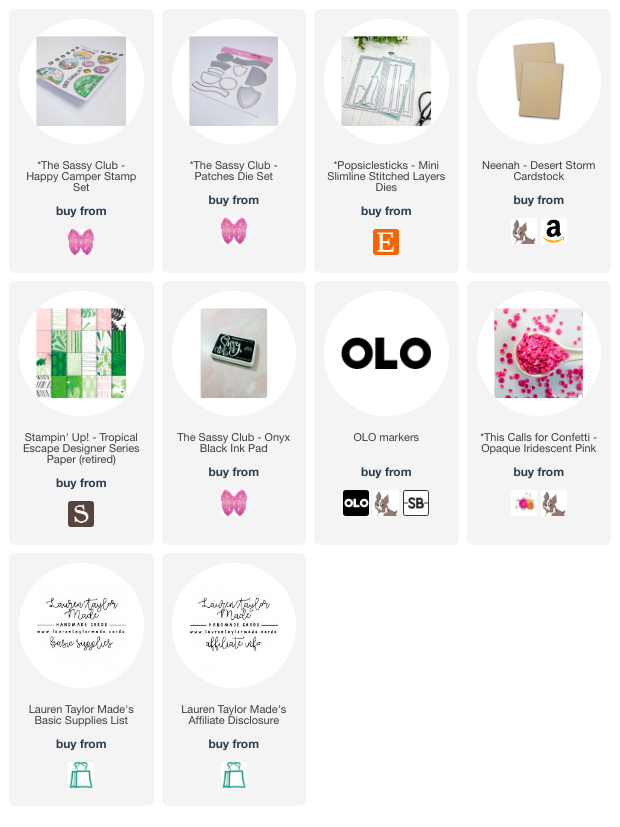
Having some food fandom fun today for Sassy Saturday! I watched Craft Roulette and used some stamps, dies and paper from The Sassy Club to create a fun fold card. The parameter this week is to make a Z-fold card, so I have an easel card that is basically a Z-fold +1 fold so it sits on its own. I used my Popsiclesticks dies to create the base as well as to cut out the different pattern paper and background white cardstock.

I stamped and colored my images with olo markers and I used the coordinating die for the fandom thief, but fussy cut out my burger head guy. I did all of my die cutting to create my sassy meal and stamped my sentiment onto the sassy meal box. Before stamping my second sentiment, I used the crinkle inkle method developed on Craft Roulette by using some bubble wrap - I crinkled up the bubble wrap, picked up ink and "stamped" it onto the background.

My second sentiment was stamped with the same black ink as the first sentiment, then I glued all of the card and each segment together. I did pop up my two fandom characters on the front of the card and used a thin foam adhesive for the red area to sign a name so it would keep the easel in place a little easier. I hope you like my Sassy Saturday fandom card for you today! Now I want some fries...

PIN THIS
SUPPLY LIST

Read More

You're Sweet Jelly Bean Fandom Card with Popsiclesticks!

Friday, November 15, 2024

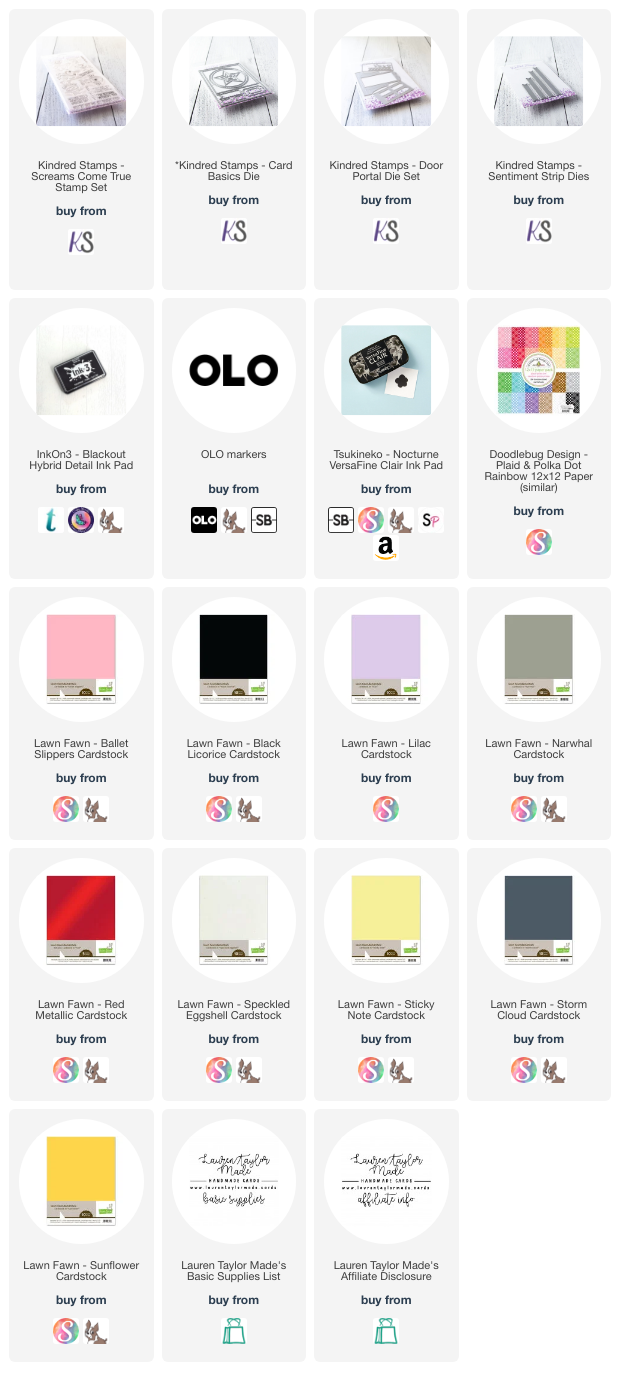
Happy Fandom Friday night! I actually made this card last weekend and had every intention of scheduling my video for this morning, but I did a voice over while traveling this week for my last video and I was not a fan of how the audio turned out. So I decided to wait until I got home to do my voice over which means I'm barely making it on Friday, hah! But it's up and adorable - a mini slimline card using products from Popsiclesticks.

I'm using a fandom set inspired by magical candy and the mini slimline dies to make a fun, birthday card. Let me know which of these magical jelly beans you would hope to get (I'm wishing for Toast) and if you have this stamp set! Check out all of Popsiclesticks fandom sets by clicking one of the Etsy links below.

VIDEO TUTORIAL


PIN THIS
SUPPLY LIST

Read More

Pastel Santas Christmas Cards with Scrapbook.com

Getting in some die cut fun with two matching Christmas cards using products from Scrapbook.com! I just love these sweet Santa faces and I used beautiful patterned paper from the Snow Days collection to create my backgrounds, sentiments and even the hats. You can watch my video down below for how my cards came together.

I made two Santas - one with a lighter skin and one with darker skin tone. I used the Neutrals paper pad from SBC as it's a perfect collection to mix up skin tones for die cutting. I personalized the sentiment with some white highlights and I especially love the Patchwork background - the pieces fit perfectly together to make a blanket inspired background.

VIDEO TUTORIAL


PIN THIS
SUPPLY LIST

Read More

Happy Fall Turkey Box Card with Pretty Pink Posh

Tuesday, November 12, 2024

Hi, friends! I’m sharing my next box card - this time for Fall and Thanksgiving! I started with die cutting all of the pieces I needed with patterned paper in Fall themed colors. I cut the Stitched Turkey Dies, leaves and flowers from the Big Fall Cupcake Dies, layered strips from the Sentiment Strips Dies, and my base from the Scallop Box Card Dies. My thinnest sentiment strip and base of the box card were die cut from a beige cardstock. For the sentiment, I cut the Fall Script Die out of a dark pink cardstock and stamped “happy” in a matching ink from the Holiday Sentiments Stamp Set to create the “Happy Fall” sentiment for the box card.

I assembled the turkey together and adhered it to the back of the two middle shelves in the middle of the box card. On the front of the two middle shelves, I adhered the sunflowers and green leaves. The sides of the box card, I added different colored leaves and a couple more on the front of the box card with the sentiment strips. You can watch the assembly of the box card in my video down below! I hope it gives you some inspiration to use your patterned paper to create a fun turkey for the upcoming season.

VIDEO TUTORIAL


PIN THIS
SUPPLY LIST

Read More

Happy Autumn Mini Notecard with Pretty Pink Posh

Monday, November 11, 2024

I don't often make mini notecards, but I created this for Pretty Pink Posh with the idea that you could use these a little note thank you notes for Thanksgiving. It's definitely one of my favorite combination of products for the Autumn season from PPP! The Solid Fall Foliage Stencils create beautiful fall images with the layered set. I used different Autumn inspired inks to color in the leaves, mushrooms, berries and acorn for the (A) stencil, then brought browns for the (B) stencil on a light brown cardstock. Alternatively, you could use the Solid Fall Foliage Stamp Set to stamp the details, but the stenciling is so quick and easy! 

Next I stamped “Happy Autumn” from the Solid Fall Foliage Stamp Set and embossed it in a white embossing powder on brown cardstock. Then I used the Solid Fall Foliage Coordinating Dies to cut out the sentiment and all of the stenciled images! I layered the images on a Mini Scallop Card cut from brown cardstock to finish the card. Do you make mini note cards? Let me know what events you could use a little note card for in the comments.

PIN THIS
SUPPLY LIST

Read More

Beep! Beep! Mini Slimline Card with The Sassy Club

Sunday, November 10, 2024

Happy Sassy Sunday (okay, maybe next week I'll get these done for Saturday)! I have a fun, mini slimline featuring fandom and scene building products from the Sassy Club. I started with stamping my images from the Beep stamp set and coloring them in with Olo Markers. I did stamp my images after coloring them with a brown ink so they have more of a black-brown look.

I created my background with the Canyon stencils and Distress Oxides - you can see the short video down below of how my background came together. I stenciled my background on mixed media cardstock after it was die cut with the largest slimline die from Popsiclesticks. I think it turned out really cute and I love this new stencil set!

VIDEO TUTORIAL


PIN THIS
SUPPLY LIST

Read More

Solved a Mystery Mini Slimline Fandom Card

Saturday, November 9, 2024

Happy Fandom Friday-ish! This week was a bit of a doozy - from our Girl Scout Bronze Award Ceremony, an audit at work, Girl Scout Night at the Ducks game and needing to sleep... I should probably think of a more clever name than Fandom Friday for those days they go up on Saturday. But besides that, I have a cutie min slimline card to share with you today! I just love these adorable images from CC Designs and as I was trying to decide what to make, I saw them looking at me, begging to be colored!

You can check out my video down below for all the details of coloring in these images and how I made my background. I chose colors and a stencil that I thought reminded me the most of this gang's iconic mystery vehicle and I really just love how this card turned out!

I was watching a replay of Craft Roulette while I was making this card, and it ended up working (at least I think so) perfectly for the parameters this week. I have a card that thanks a helper by saying "you're the best," I'm using a rainbow of colors just like Lucky Charms cereal, I have tropical jungle colored/stenciled flowers in my background, and I used a cardstock called paper bag for the background and sentiment! You'll have to let me know if you think I did a good job of the parameters in the comments.

VIDEO TUTORIAL


PIN THIS
SUPPLY LIST

Read More

Enchanted Forest Birthday Card with Scrapbook.com

Thursday, November 7, 2024

Fall birthdays are some of my favorite cards to make and the Enchanted Forest stamp and die set from Scrapbook.com made this card so cute! I started with stamping my bear and fox with an alcohol friendly ink and colored them in (except their accessories) with alcohol markers. Using the coordinating dies, I cut them out as well as a few other images and the card's sentiment from different patterns in the Woodland paper pad.

On one sheet of patterned paper, I added two Spring Flowers rub-ons in gold and used the Spring Flowers stencil to blend on some Sauna ink to be the middles of the flowers. I used an arch to cut it out and layered all of my elements together. I added the die cut accessories to the stamped images - I think the paper piecing looks so cute with the stamped and colored critters! After my card as assembled, I added white highlights and some Pops of Color of some extra shine.

I hope you like my take using this newer stamp & die set - what critter is your favorite from this new product collection?

PIN THIS
SUPPLY LIST

Read More