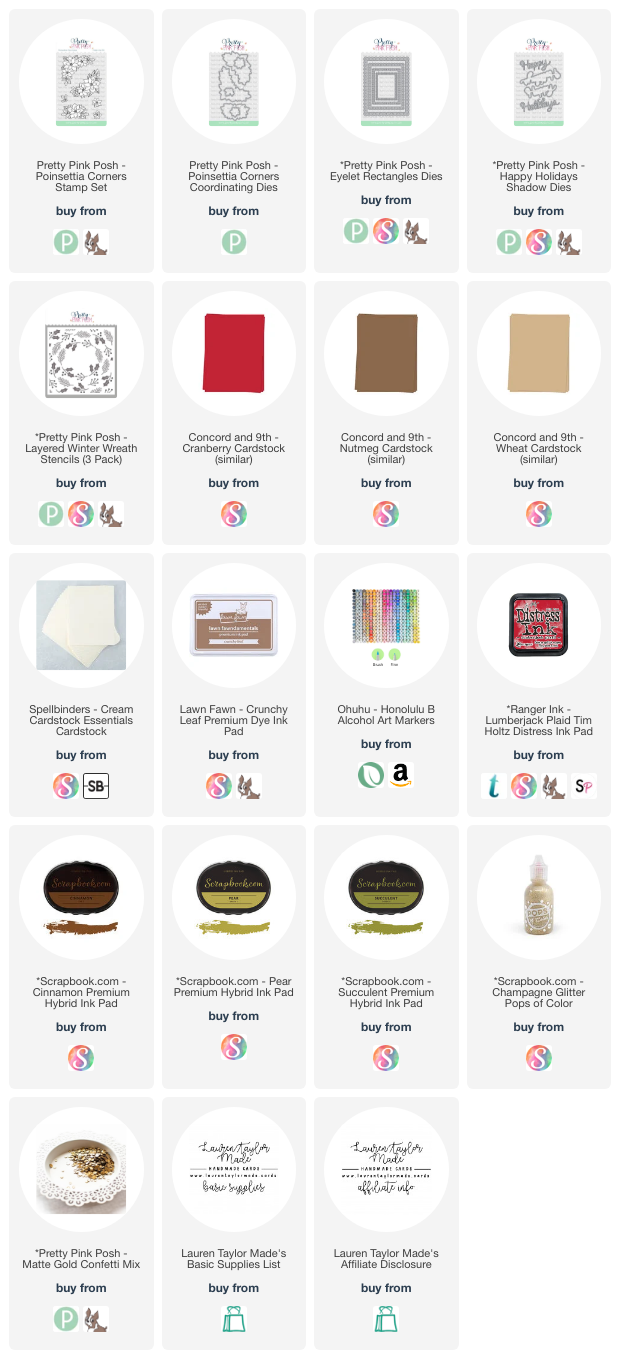
Hi, friends! I am back with a new video with Pretty Pink Posh for a Christmas card on the 25th mixing new and previously released products. I just love that I can mix and match from different releases to make a card! I started with using the Layered Winter Wreath Stencils to add brown to the twig details of the A stencil, red to the berries of the B stencil and two green inks for the leaf and pine needles of the C stencil.
When the stenciling was done, I used the largest Eyelet Rectangle Die to cut out the wreath so that it looked centered in the middle of the rectangle. Next I stamped my images from the Poinsettia Corners Stamp Set on some cream colored cardstock and colored them in with Ohuhu Art Markers, then used the Poinsettia Corners Coordinating Dies to cut them out. I stamped them in a brown ink to match the colors and have a softer look to the poinsettias - I love the off-white poinsettia look of the colors!
 |
 |
For my sentiment, I’m using a cranberry red colored cardstock to cut two layers of the Happy Holidays Shadow Dies - just the words for this card. I used an adhesive sheet when die cutting so that I could easily adhere the two layers of the words together for extra stability when I’m ready to glue the sentiment to the card.
To assemble the card, I adhered the Eyelet Rectangle and Winter Wreath panel to an A2 size of brown cardstock which was then adhered to an A2 card base. I popped up the two Poinsettia Corners clusters with foam adhesive and then my liquid adhesive to adhere the sentiment to the center of the card. For final touches, I used the Matte Gold Confetti Mix to add some shine around the card and some gold glitter embellishment to the center of the Poinsettia Corners images.
I just love how rich this card looks and makes a beautiful holiday card. I hope this brought you some inspiration today and while I know it's January, hope it inspires your holiday crafting any time of the year!


Post a Comment