Vampire Rabbit Halloween Card with Scrapbook.com

Thursday, February 29, 2024

We're just making it this month with my Halloween video for this month. I have been struggling with keeping up this month so I decided to try and keep this month's Halloween project a little more on the simpler side with using patterned paper and die cuts. I just received my latest Creative Team Package from Scrapbook.com and I thought it would be fun to use the adorable Rabbit Die Set for my Halloween card!

Tune into my video down below to see what pieces I used from the Rabbit Die Set to create my little vampire! I love that the Mini Circle Sentiments fit perfectly on these bold glasses from the die set. I also used the patterned paper for the pink, haunted house. I'd love to get some other ideas for this cute rabbit and how else I can use the dies in another unconventional way! Let me know your ideas in the comments.

VIDEO TUTORIAL


PIN THIS
SUPPLY LIST

Read More

Hey BFF Flip Flop Card with The Sassy Club

Wednesday, February 28, 2024

We're having a flip floppin' card kind of day! I have been so swamped with helping Abigail sell her Girl Scout Cookies, I am getting VERY behind in my schedule but I knew I needed to get my Craft Roulette project made! My new OLO Markers arrived this week, too, and I really wanted to color some cute images with them. So I decided these two colorful fandom characters would be perfect! I stamped these two besties and a couple of mushrooms and fussy cut them out once I finished coloring.

I followed a tutorial I found on Pinterest and used some rainbow paper from my stash to decorate the card. I used banner dies to cut out out white cardstock and stamped my sentiments in black ink. I also used a grassy border die to create the ground for my besties out on their walk. Now, the all pink girl is much smaller than the rainbow hair girl, so I tried to give that illusion by making the grass bigger and added in the mushrooms.

This card meets the requirements for Craft Roulette last Friday: flip flop card, colors inspired by Disneyland Main Street, my besties are on a walk, and the sentiment includes the word "heart." Do you think I met the requirements? I love how my markers colored and I had such a fun time with this very colorful card!

PIN THIS
SUPPLY LIST

Read More

Sending Hugs Christmas Wreath Card with Crafty Meraki

Sunday, February 25, 2024

Happy 25th of the Month! It's time for a Christmas card, but it's a special addition because I'm hopping along with a few of fellow crafty creators using new products from Crafty Meraki! I was gifted the stamps, dies and hot foil plate that I used on this card and I knew that I wanted to try and use these dies in a unique way. It worked perfectly to make my dream winter wreath!

Follow along in my process by watching the video below, but make sure you click to watch it on YouTube because there are details in my video description on how to hop along with all of the creators as well as how to enter the $100 gift card giveaway! You're going to love the dies and beautiful script sentiments, I hope you check out this new (to me) company and let me know what is on your wishlist!

VIDEO TUTORIAL


PIN THIS
SUPPLY LIST

Read More

Together Forever - New Release from Kindred Stamps

Friday, February 23, 2024

It's a new release day from Kindred Stamps! There are some amazing new stamp sets and paper packs for this adorable fandom movie - I am sharing how I used the Together Forever Stamp Set and Adventures Paper Pad. I started with stamping and coloring all of my images using stills from the movie for coloring inspiration. I decided to fussy cut out all of the images, but you can also use a Scan N Cut and maybe Kindred Stamps will offer dies for this set in the future!

The Adventures Paper Pack have some fantastic designs, so I wanted to feature as many as I could on my cards for the release. I used the Card Basic Dies to layer the paper together for all of my cards. I also use the circle die for my Girls Rule card down below. There is a bottle cap stamp that I used to create a design for my little girl card, too. There are two great sentiments that I used with my older couple and them as kids, too. I think these would make perfect anniversary or Valentine's Day cards!

For my personalized sentiment for my final card, I stamped my letters on white cardstock and embossed it with white embossing powder. Then I used Seedless Preserves to emboss resist and fussy cut them out. It's the same ink I used to stamp the bottle caps and splatter in the background. I hope you enjoy the new release today; let me know which set you're getting in the comments!

PIN THIS
SUPPLY LIST

Read More

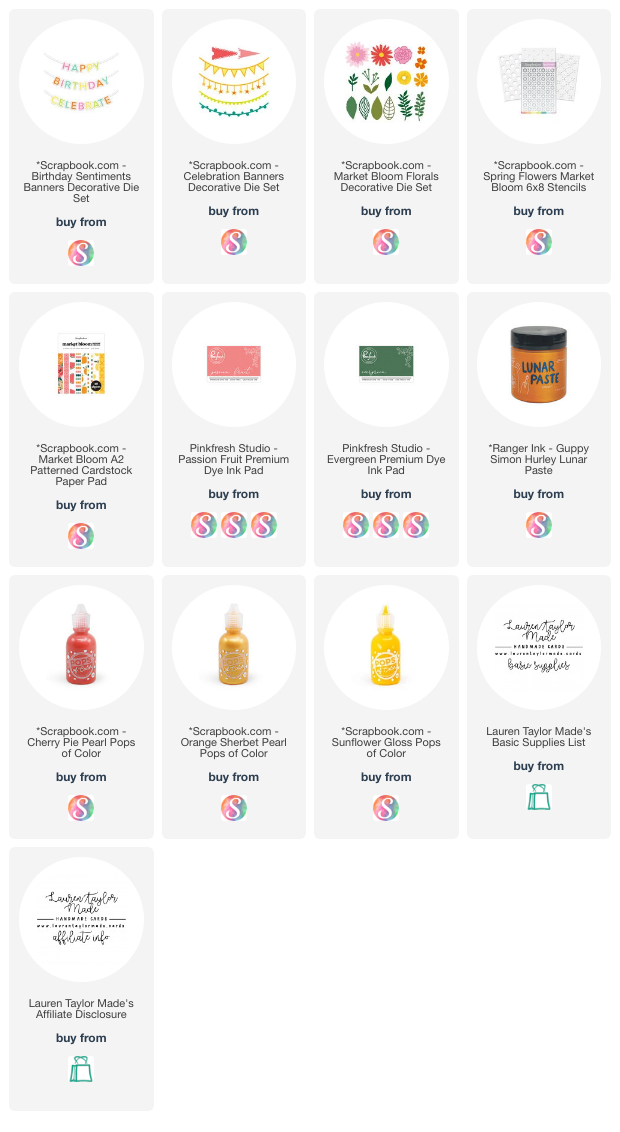
Market Bloom Birthday Card with Scrapbook.com

Thursday, February 22, 2024

I know I probably say this with almost every collection released from Scrapbook.com, but the Market Bloom Collection is my new favorite! The colors of the Market Bloom Patterned Collection Paper Pad are so beautiful and I love this mix of flowers and citrus fruit. I used some of the patterns and solid cardstock from the pad to create today's card!

Starting with the stenciling, I used a pink and green ink pad to color in the flowers and leaves from the Spring Flowers layering stencil set. For the flower centers, I used Guppy Lunar Paste - I just love the shine it gives to the background! Then I did my die cutting from the Market Bloom Florals die set as well as the "happy birthday" banners from Birthday Sentiment Banners set and a cute garland from the Celebration Banners set.

I trimmed my background to 4x5.25" and adhered it to my card base. Then I adhered the flowers down with a mix of liquid adhesive and 1mm foam. I added my white letters to my banners and layered all three with liquid adhesive - I did have to use some foam to help support some of the letters, but mostly relied on the dimension from the flowers underneath them.

For some final touches, I added some Pops of Color in different colors around the flowers. I just love these colors and just how fun and floral it is! What do you think of this new collection? I like the fruity items, but the florals are just my favorite.

PIN THIS
SUPPLY LIST

Read More

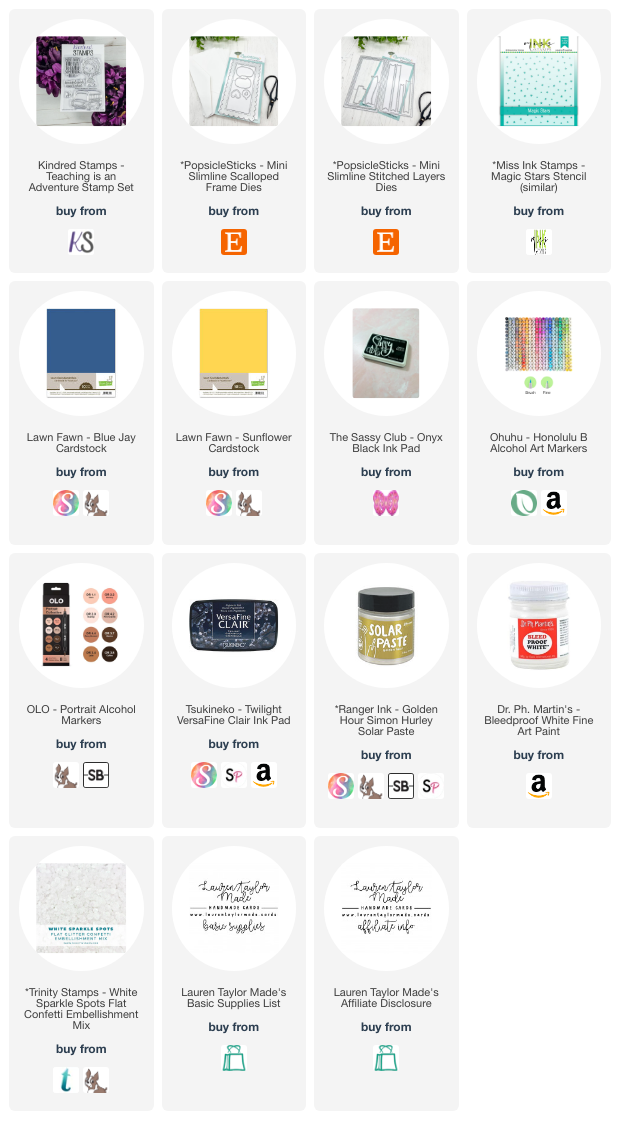
Teaching is an Adventure Mini Slimline with Kindred Stamps

Wednesday, February 21, 2024

I am having some fandom fun today with Kindred Stamps! I did mix in a few other items from other companies, but the images are from a retired set called Teaching is an Adventure. I'm sorry that this set is not available right now, but make sure to join the Kindred Stamps Fan Club so that you can stay up to date on when limited drops are made of retired sets!

You can see my process below, but I started with die cutting my blue background and used Solar Paste to add the stars to the background. When they dried, I added some white splatter and layered it onto a piece of yellow cardstock so that my card would measure 3.5x6.5 when folded. My sentiment is stamped and cut from a speech bubble die from PopsicleSticks (like my mini slimline dies). 

My images were stamped and colored with alcohol markers; I had a few images up when coloring so I did my best to match her dress and the look of the bus! I fussy cut the images out and added a few highlights with a white gel pen. These were popped up, along with the sentiment, with foam adhesive to the card. I added some final touches with some of my favorite embellishments from Trinity Stamps. I hope you have fun watching my latest video today!

VIDEO TUTORIAL


PIN THIS
SUPPLY LIST

Read More

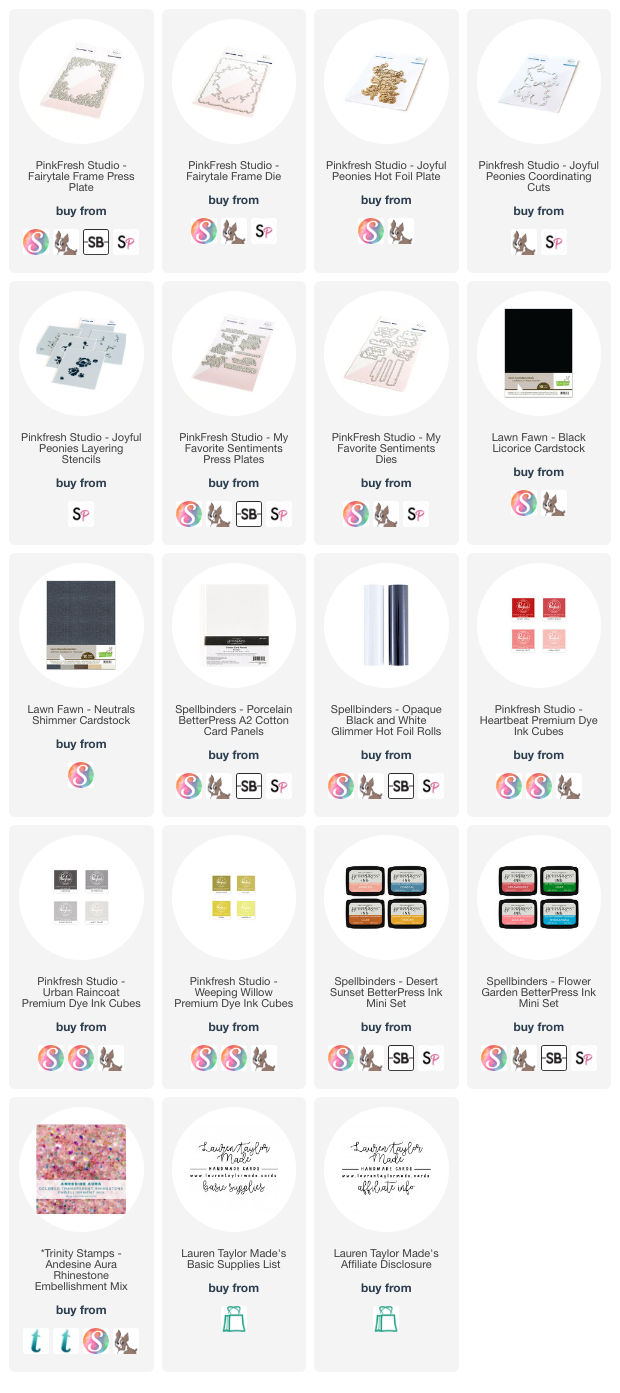
Favorite Things Florals - Oh So Inspired Collaboration Card!

Tuesday, February 20, 2024

I have to say, I really love this card. The flowers, the colors, the stenciled touches, the foiled images, letter pressing... I'm so happy with how this card turned out! This card came together thanks to being a part of the Oh So Inspired Collaboration Team and we're here to share with you projects this month inspired by a beautiful floral card from Rochelle Blok (blog, Instagram).

From her card, I used the flowers and colors to inspire my card. Even the simple touch of a white sentiment on black cardstock! You can see my video down below for my process but also make sure to watch over on YouTube so you can get the details of today's hop! I cannot wait to see what everyone makes with this month's inspiration. I want to make a hundred more of these cards!

VIDEO TUTORIAL


PIN THIS
SUPPLY LIST

Read More

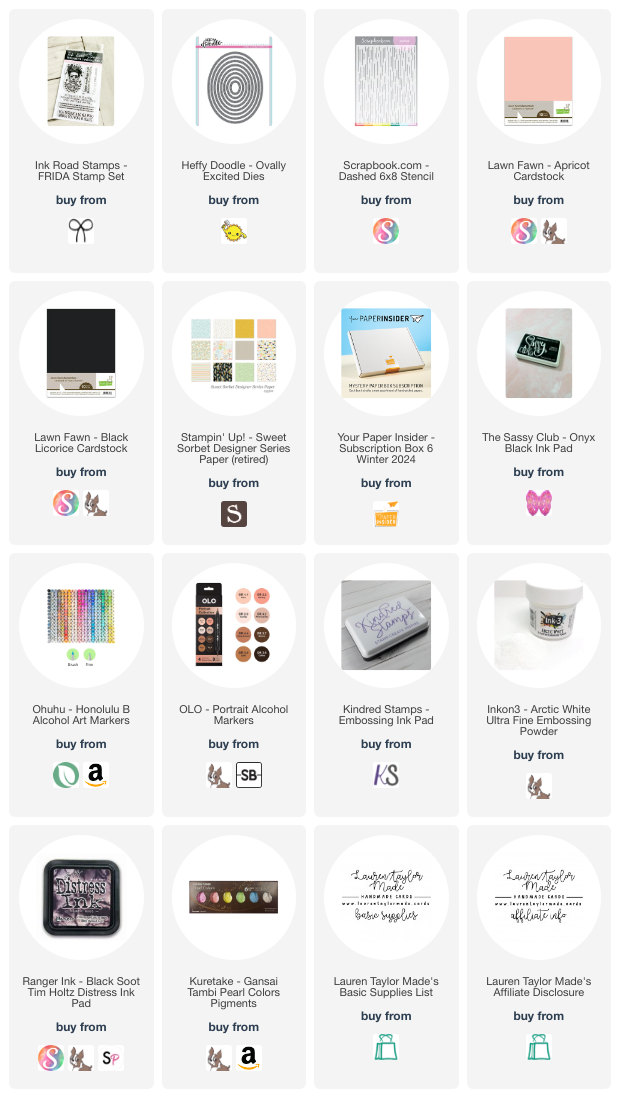
FRIDA 5x7 Card with Ink Road Stamps

Monday, February 19, 2024

I really struggle with 5x7 cards and when I saw Craft Roulette this past Friday was this size card, I was a little discouraged at first... But I can't stop my streak of making cards - this will be 125th, consecutive card I have made with the parameters as inspiration! So let's walk through today's card! First I went through my stash of old patterned paper and settled on some paper that had colors that looked to like it would meet the formal and information parameter.

Since I did not make a card last month using the Show Us Your SheetLoad sketch from January 2024, I decided to scale it for a 5x7 card. For some of the panels I cut following the sketch, I made my own crisscross pattern with a stencil and black ink. I also added some splatter and let it dry while trimming my pieces of my card.

I put my card together and added a few touches of shimmery green cardstock. My image was stamped and colored with alcohol markers and I used an oval to cut my Frida out as I thought it would fit the image better than circle. For my sentiment, I embossed it in white on black cardstock and I'm relying on the word "coffee" to meet the warm element to finish of my card!

PIN THIS
SUPPLY LIST

Read More

You're the Tweetest with Pretty Pink Posh

Sunday, February 18, 2024

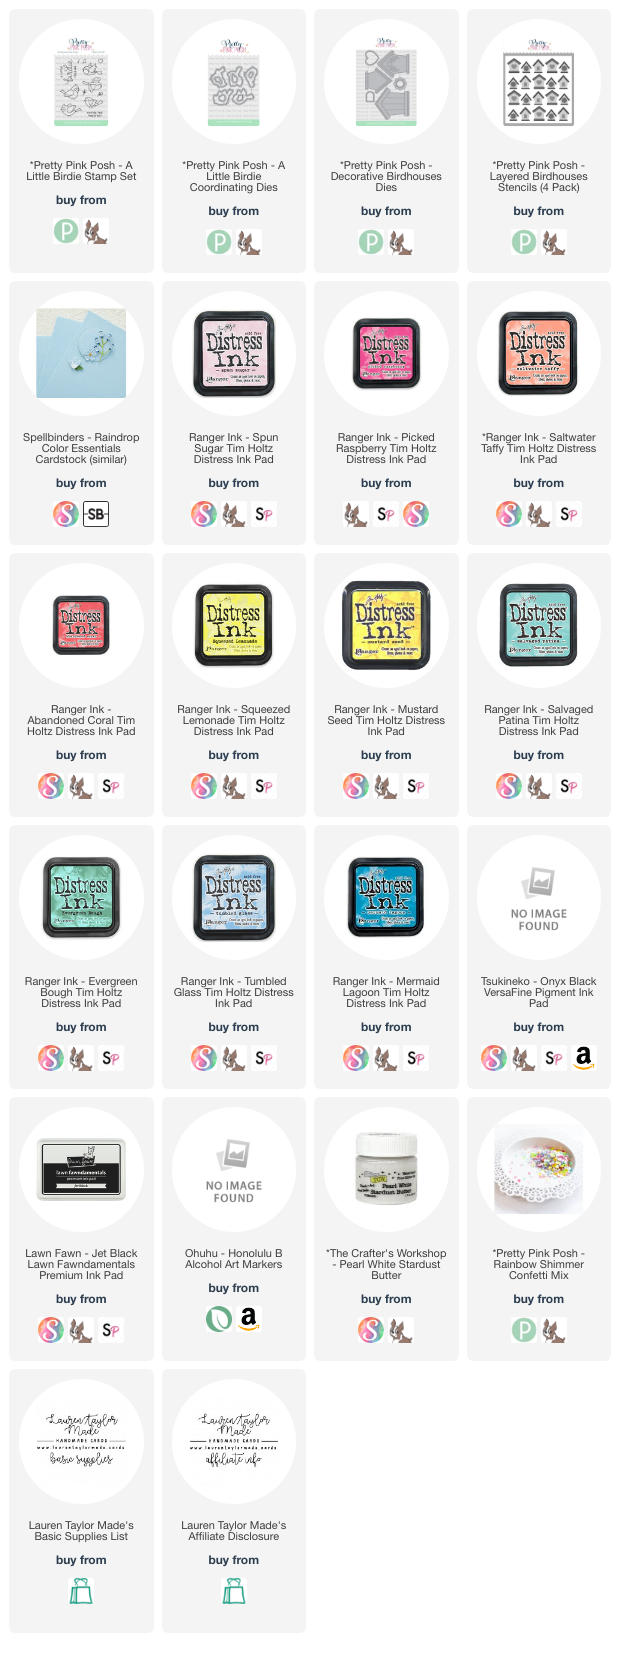
I have some Spring inspiration today with Pretty Pink Posh! First I started with stenciling my birdhouse background on white cardstock with the Layered Birdhouses Stencils. I used the A stencil with Distress Inks in Spun Sugar, Saltwater Taffy, Squeezed Lemonade, Salvaged Patina and Tumbled Glass. Next I used the B and D stencils with Distress Inks in Picked Raspberry, Abandoned Coral, Mustard Seed, Evergreen Bough and Mermaid Lagoon. Finally, I used the C stencil with Pearl White Stardust Butter from The Crafter’s Workshop.

While the background was drying, I cut a birdhouse from the Decorative Birdhouses Die Set from a light yellow cardstock as well as the scallop details and archway from pink sparkle cardstock. I added some Mustard Seed Distress Ink to darken the color of the birdhouse and used Ohuhu Art Markers in teal colors to color in the leaves to match the teal birdhouses I stenciled. I assembled the bird house together and I just love the stitched details!

From the A Little Birdie Stamp Set, I stamped two birds and a little branch in alcohol marker friendly black ink. Using Ohuhu Art Markers, I colored them in and used the Coordinating Dies to cut them out. Once my background was dry, I trimmed it down to 4 x 5-1/4" and layered it with blue cardstock onto an A2 card base. I added the birdhouse towards the center of the card with foam adhesive, leaving room for the “You’re The Tweetest” sentiment beneath. Finally, I added my stamped images and different colors from the Rainbow Shimmer Confetti around the card as well as a few on the bird house.

PIN THIS
SUPPLY LIST

Read More

Sanity is Overrated with Miss Ink Stamps

Saturday, February 17, 2024

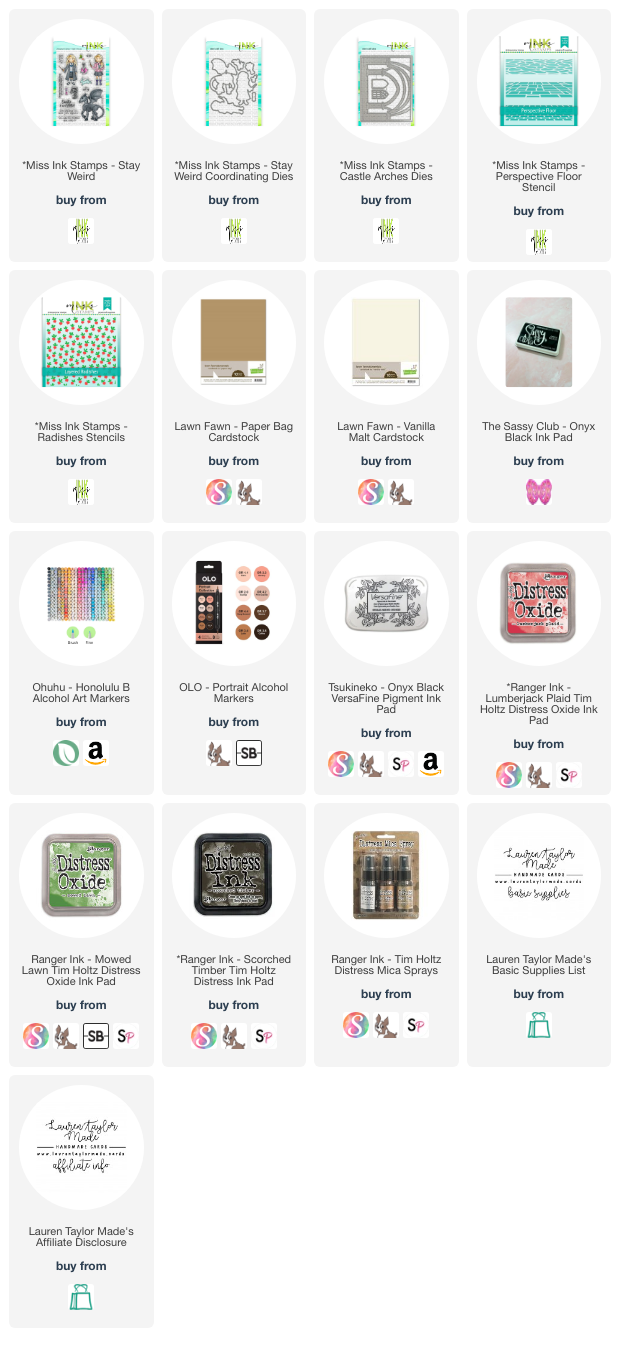
I love each release from Miss Ink Stamps as she builds more of her Magic Collection! This last release has a wonderful scene building die set and I knew I wanted to make this iconic scene from the movie adaptation of this fandom story. I started with stenciling my background with the layering Radishes stencil set then stamped and colored my images.

Next I did my die cutting and started assembling my scene. I did use some Distress Ink to create a stone floor and to darken the top of the Castle Arches and added some bronze splatter. I had fun making this card and I definitely want to make another card with a whole class of characters with a similar feel! Which character is your favorite from the Miss Ink Stamps Magic Collection?

VIDEO TUTORIAL


PIN THIS
SUPPLY LIST

Read More