Neon Floral Mother's Day Card with Ranger Ink + Simon Hurley create.

Tuesday, April 30, 2024

I am so excited to be back with my next project for Ranger Ink! Start with stamping the floral images from Fresh Cut Flowers with a black, archival ink onto thick, white cardstock. Take a small amount of Lunar Paste and add water with a paintbrush, then use the paintbrush to add color to your images. For these flowers, Dart Frog, Tangent, and Yellowjacket were used. Once the paste is dry, you can optionally stamp the images again with the black ink to bolden the lines again. Fussy cut out the images and set aside to work on the background.

Using a piece of white cardstock cut to 4x5.25” and stencil the Dazzling Diamonds in Guppy, Overzealous and Shooting Star inks. Add the stenciled panel to a piece of black cardstock cut to A2 in size which is adhered to a card base, then arrange and glue the flowers onto the stenciled background. Hot foil in Opaque White, the Mother’s Day sentiment from the Spring Magnolias Press Plate & Die Set and use the coordinating die to cut it out. Adhere to the card with the florals with foam adhesive.

VIDEO TUTORIAL


PIN THIS
SUPPLY LIST

Read More

Talk to my Plants with RubberStamps.com

Sunday, April 28, 2024

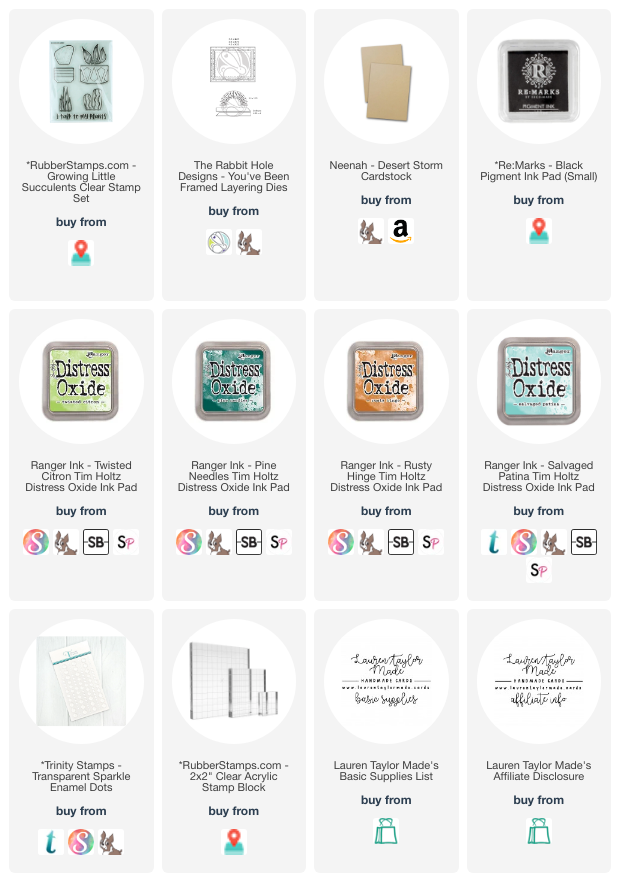
Happy Sunday, friends! I was gifted a cute, mini stamp set along with a clear black and black pigment ink from RubberStamps.com and I used them to make this silly plant card. The stamps stamped very nicely and I think they're quite good quality. I'm excited to purchase a few stamps for myself to stamp with different mediums (as there are some cute Mickey Mouse ones I need, haha).

For my card, I started with squishing green Distress Oxides on my glass mat and sprayed it with water to add the ink to mixed media cardstock. I did the same process with orange and did my best to flick on some blue ink to give it a turquoise feel, but it's very muted and can really only be seen close up.

When the papers were dry, I stamped the images with the black pigment ink and set it aside to give the ink some time to dry. I die cut a piece of kraft cardstock and stamped my sentiment with the same ink on the bottom of the panel. I popped the panel up onto an A2 card base then fussy cut out my images. I popped them up onto the panel, doing my best to get them centered and fill in the rest of the card.

For some final touches, I added some embellishments that have a subtle glitter, so they're very pretty in the light. I wanted to make sure the stamps really shined on the card, so that finishes it off! Let me know what you think about this brand and if you see any stamps that are now on your wish list.

PIN THIS
SUPPLY LIST

Read More

Hello Lemon Card with Scrapbook.com

Friday, April 26, 2024

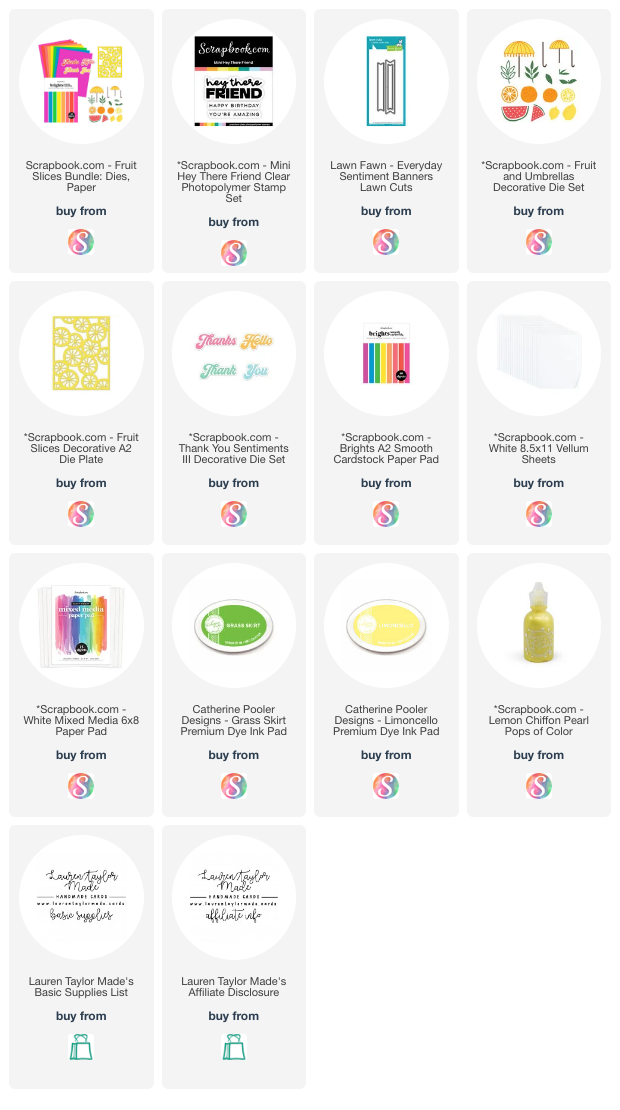
Having some fresh, citrus fun for today's card! I love the new Livestream Deal Bundle from Scrapbook.com that has lots of dies and bright, colorful paper. I used supplies from the bundle plus a few extras to make my card today. If you'd like to see a quick video, I have a YouTube Short but let's talk about how this card came together.

I started with die cutting my citrus background and added some yellow ink to the edges of the die cut. I layered the die cut with vellum and yellow paper that was then added to my A2 card base. I stamped my sentiment in green ink and popped it up to my card with 2mm foam adhesive. Then with a mixture of different foam thickness and liquid glue, I added my lemons, sentiment die cut and leaves. 

For final touches, I added some Pops of Color around the bundle of lemons and sentiment. I tapped the inside of the card to dome them out and that finishes my card. If you like the dies and colorful paper, make sure to shop the Livestream Deal before it's gone!

VIDEO TUTORIAL


PIN THIS
SUPPLY LIST

Read More

Nanny Adventures Cards - New Release from Kindred Stamps

The new release from Kindred Stamps is here! I was able to make projects with the Nanny Adventures Stamp Set and Nanny Paper Pad to bring you inspiration for the release. I made four cards using all but two of the stamps from the 6x8 set! I also incorporated some of the pretty paper designs on my two interactive cards.

For my first card, I used lots of dies to re-create the scene where the Nanny meets penguins! I started with stenciling trees upside down to give the effect of the leaves hanging down and layered the Jungle Scene but cut out some of the trees to just incorporate the look of a single tree. I layered die cuts to make a hill, water, grass and ground, finally adding my images and sentiment.

My next two cards are interactive! I used the mother from this fandom story with the perfect sentiment as a shaker card. I used my favorite pattern as the card back, then some of the grey patterns to make my shaker circle panel with some sequins from my stash. My sentiment is embossed and I added my image to the acetate on top of the shaker panel.

The other interactive card is a pull tab card and it's my favorite of them all! I stenciled on clouds and die cut my slot for the pull tab. I added my trees die cut to the bottom of the panel, making sure not to interfere with my pull tab. I die cut the rest of the pull tab assembly and added my Nanny so she looks likes she's flying down with her umbrella. My sentiment is also embossed and I added my children with foam adhesive.

The last card is our chimney sweeper and I made my own roof! I started with ink blending my night sky and used white splatter to make stars. Using red cardstock, I drew the brick details on my different roof pieces and distressed the edges to darken them up for my dusk scene. I also embossed my sentiment on this card as well and added my roof and chimney sweeper with foam adhesive.

I hope you enjoyed my inspiration with the Nanny Adventures set and that you shop the new release here then let me know what you get in the comments!

PIN THIS
SUPPLY LIST

Read More

Thumpety Thump Christmas Card with The Sassy Club

Thursday, April 25, 2024

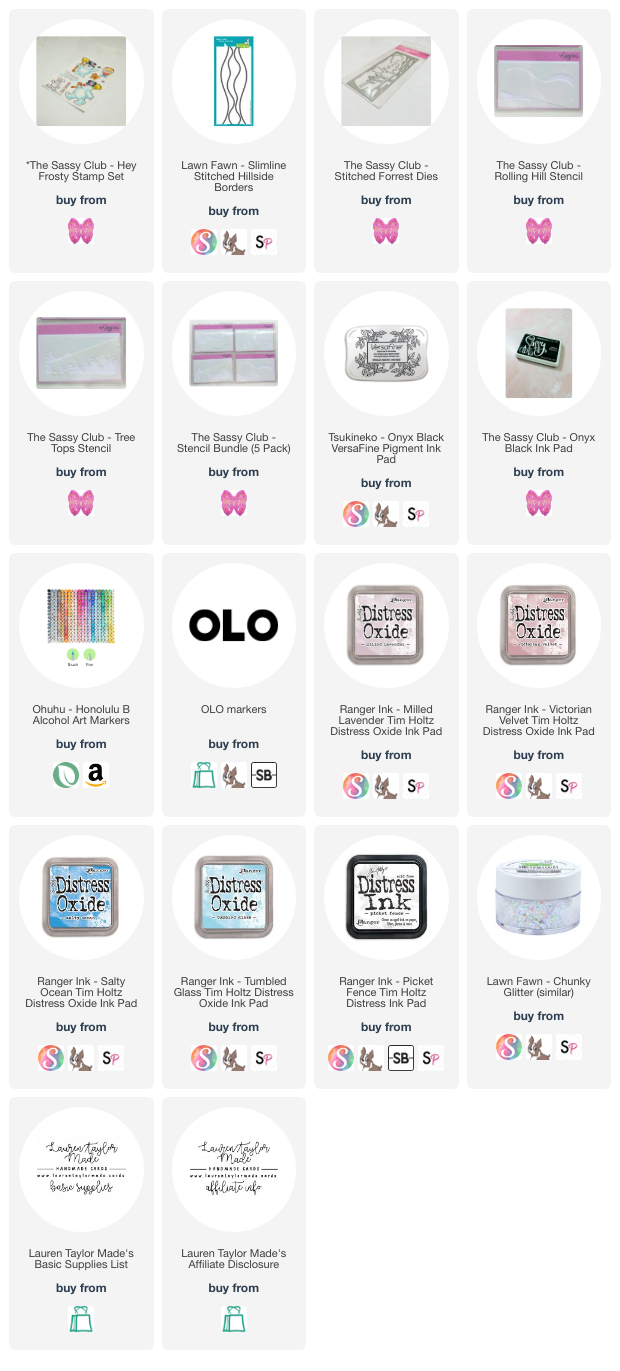
It's the 25th of the month... Time for some holiday inspiration! I'm using a new fandom set from The Sassy Club that is perfect for your holiday cards. It's called Hey Frosty and has two snowman stamps to make great scenes. I drew inspiration from looking at a scene from the movie and stenciled my own background of sky, trees and snow. I also used tree dies to create my snowy scene.

After I made my scene, I added glitter and set them aside to dry. I stamped and colored my images using alcohol markers - I did use my Scan N Cut to cut them out and added some white highlights. After I added my sentiment and snowflakes to my background, I assembled my card together. I love how cute these images are and even though there's glitter, the scene is so sparkly and so pretty for the holiday!

You can find my process in my video today - it's a bit on the longer side but we'll catch up a bit during the coloring bit. But you can also skip sections using the chapters in the video!

VIDEO TUTORIAL


PIN THIS
SUPPLY LIST

Read More

Magical Hat Shaker Card with The Sassy Club

Wednesday, April 24, 2024

Hello, friends! It's been a few days, but I'm finally back in the craft room working on some projects as I was out of town last weekend and I'm gone again this weekend... So I have a few things I'm working on and I was intending to make this card a YouTube Short, but I just didn't have the time. I think my card today is not too complicated so we can walk through it on the blog instead.

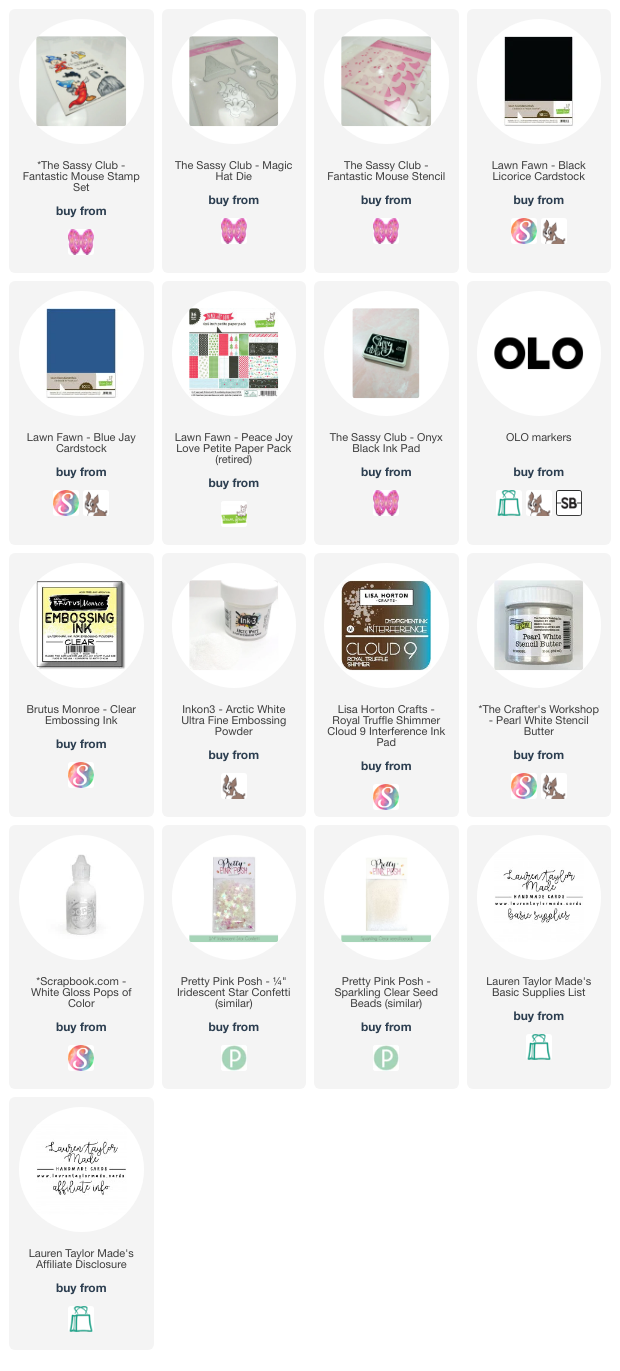
I am using the April 2024 SheetLoad of Cards from Call Me Crafty Al, and the only major differences from the sketch to my card is that I used the Magical Shaker Hat and Magic Mouse as my oval on the sketch. My square piece is the size of the PP-B and I used Mint Tape to mask off a border when stenciling to look like card sketch instead of adding patterned paper.

The background is stenciled with a Cloud 9 Interference ink and stencil paste on black paper to just have some fun with the color. I made my shaker panel with my sentiment that was embossed in white powder. My shaker bits are stars and beads from my stash and of course I added my sweet Magic Mouse. I stamped and colored him in with OLO markers and I actually colored him when I made my box card.

To finish off the cards, I added some White Pops of Color and I really like how it turned out! I also used last Friday's episode of Craft Roulette to inspire my card as well. My card sentiment is a "good tidings" type of sentiment, I used summer colors for USA Independence Day (red, white, blue), there is a shaker on the card that is mechanical, and there is a tie closing my Magic Mouse's robe!

PIN THIS
SUPPLY LIST

Read More

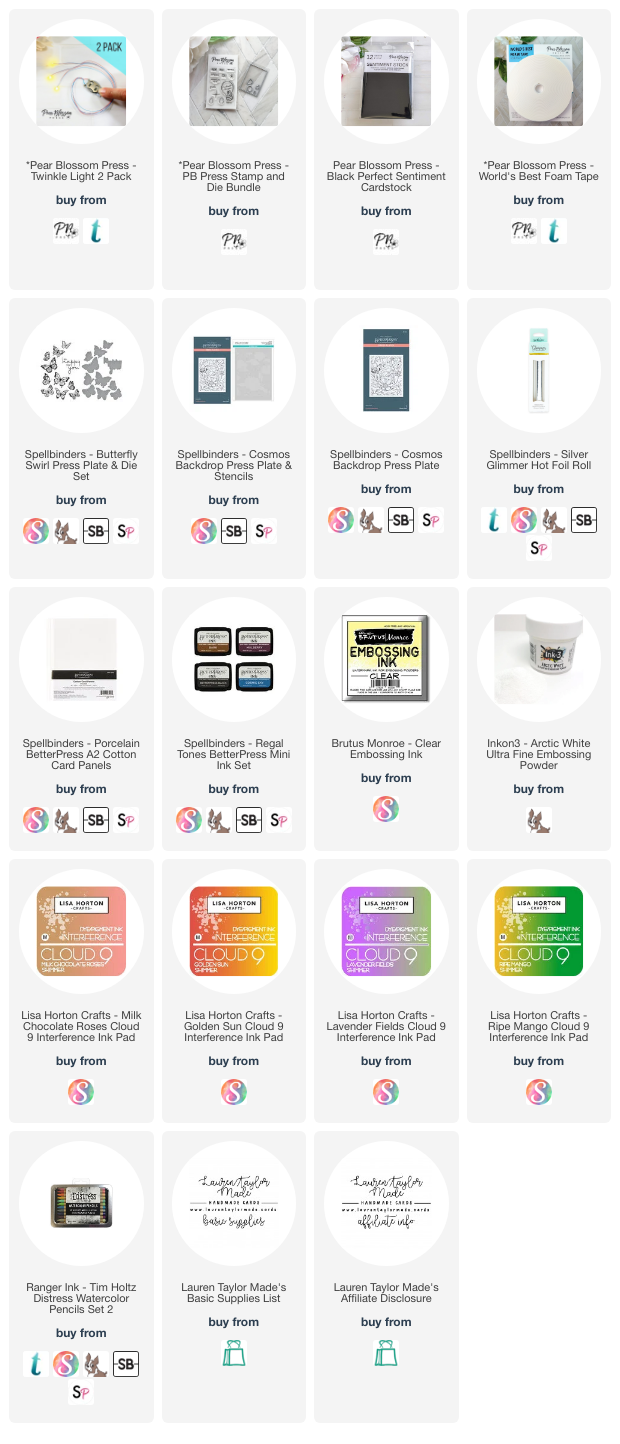
Happy for You Twinkle Butterflies with Pear Blossom Press

Sunday, April 21, 2024

I'm happy to share with you today my latest project for Pear Blossom Press! I am using Twinkle Lights to light up my butterflies on a floral background. I started with foiling my background and using the coordinating stencils with Interference Inks to get a subtle, shimmery background. I then used my BetterPress to press my butterflies and sentiment.

The butterflies are watercolored with orange and I used the coordinating dies to cut them out along with my sentiments. You can follow along in my video below of how I assembled the Twinkle Lights on the inside of the card and added my Butterflies above the LEDs of the lights. I added a little star shaped die cut so the card receiver knows where to press!

VIDEO TUTORIAL


PIN THIS
SUPPLY LIST

Read More

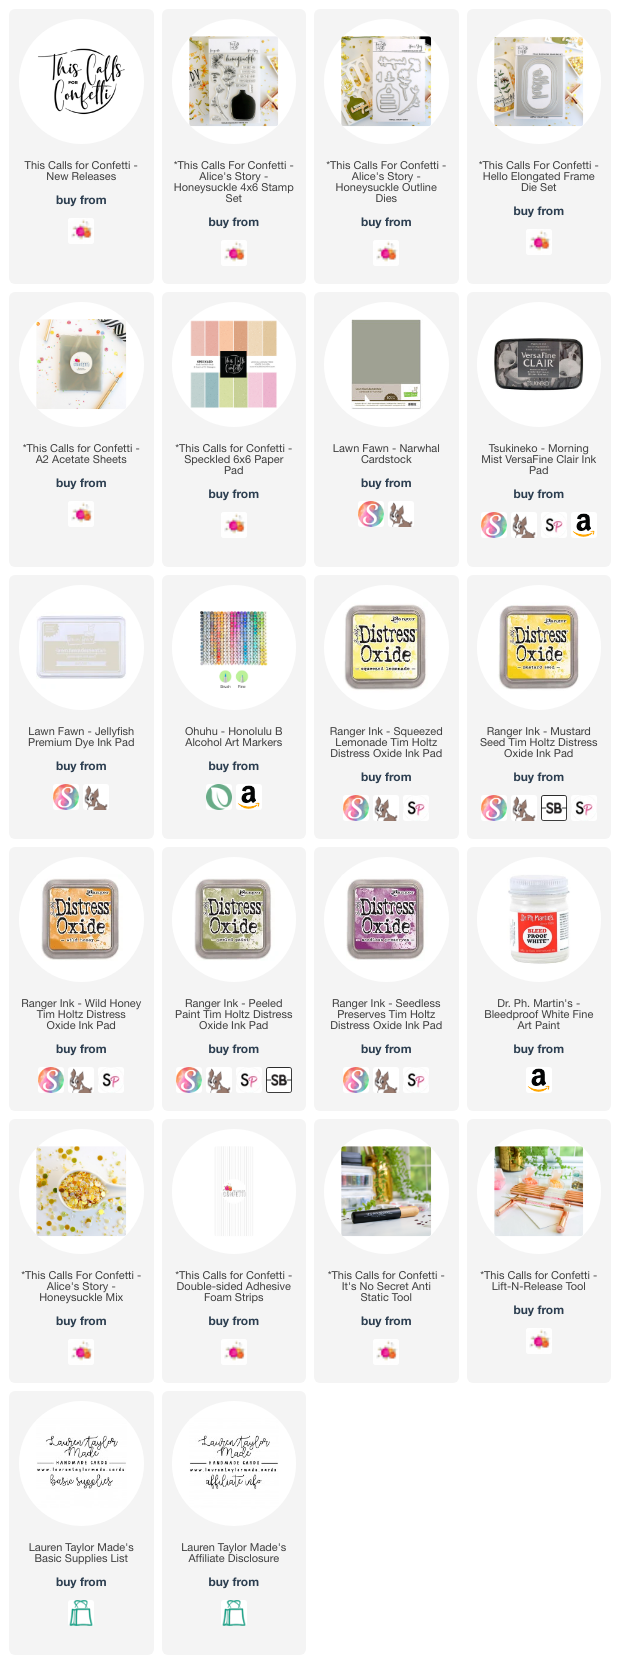
Sweet As Honeysuckle Shaker Card with This Calls for Confetti

Saturday, April 20, 2024

I'm so excited to share today's project with you! I'm using new items from This Calls for Confetti and includes a beautiful, memorial set called Honeysuckle. I also have a new confetti mix with the same name that inspired me to make a shaker card. This was easy to do using the new Hello Elongated Frame Die Set! You can follow along in my video down below to see how this card was put together. It's my latest Oh So Inspired Collaboration video where we all use the same card to inspire a new project. 

From the inspiration piece by Dania's Doodles, I loved the flowers as the center focal of the card as well as the grey, green and purple colors. But, not only is this a video hop, over on Instagram there is a hop with This Calls for Confetti! We're celebrating the release of this new collection and the hop starts at 10am PT so make sure to head over there later today to see the inspiration with this new collection. At the time of scheduling this blog post, the new items have not yet been listed but you can shop the new collection by clicking on the "New Releases" for TCFC in my supply list.

VIDEO TUTORIAL


PIN THIS
SUPPLY LIST

Read More

Hello Friend Spring Animals Card with Scrapbook.com

Thursday, April 18, 2024

Scrapbook.com has a new Livestream Deal today! The latest bundle features the Spring Animals Stamp Set, Coordinating Dies and two Glitter Brush Markers in Chocolate and Tan. I wanted to use this bundle but also step it up with some other spring themed items in my crafty stash. You can follow along in my video today, but I shared how I colored my images from Spring Animals and Sunshine Blooms with Glitter Brush Markers.

I layered the images and sentiment on a piece of vellum that is layered onto a leafy pattern paper. I like to use vellum on busy backgrounds where I'm going to make it more busy with my images as a way to add a break in the business without covering the background. Once I have everything on the card, I added a few Pops of Color to bring a bit of glossy shine to the card. I hope you check out today's deal and like my floral, critter card!

VIDEO TUTORIAL


PIN THIS
SUPPLY LIST

Read More

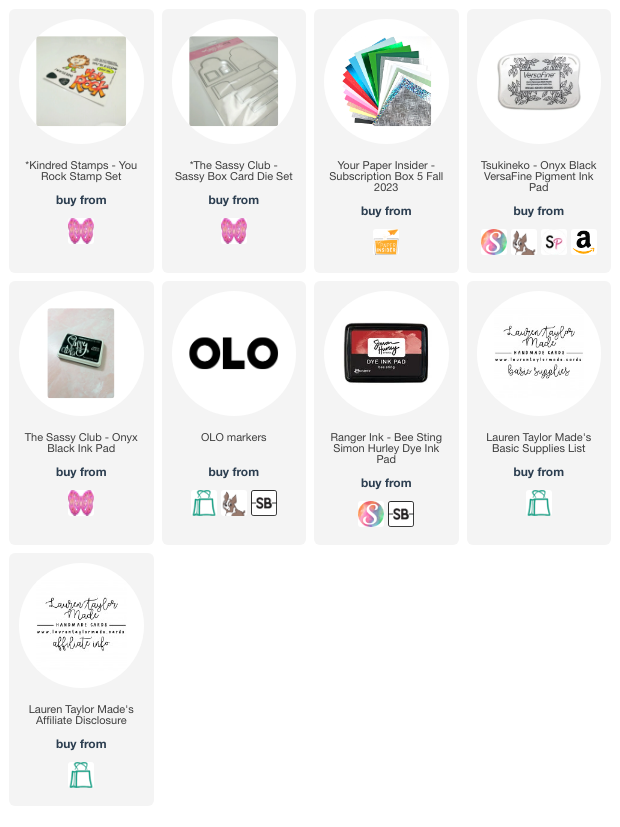
You Rock Box Card with The Sassy Club

Wednesday, April 17, 2024

Having some more fandom fun today with another Sassy Box Card! This card is simple, as I just really wanted to color in this music teacher from You Rock. I made my own pattern with the guitar pick stamps with red ink to match my sentiment styled after the movie's title. I love how cute this character has turned out and I want to make a few more cards with him. I think he'd make a great Father's Day card or for musicians in your life (or fans of the actor).

You can watch a short video down below of how the pattern and box card came together. What other characters would you like to see on a Sassy Box Card? Let me know in the comments!

VIDEO TUTORIAL


PIN THIS
SUPPLY LIST

Read More