

Hi, friends! I am back with a new video using Pretty Pink Posh today. It's the 25th of the month and I wanted to share some non-traditional colors for the Christmas holiday with you! I’m going to be using a mix of different products but this technique can be easily adapted with a different color scheme, shaker die or theme!
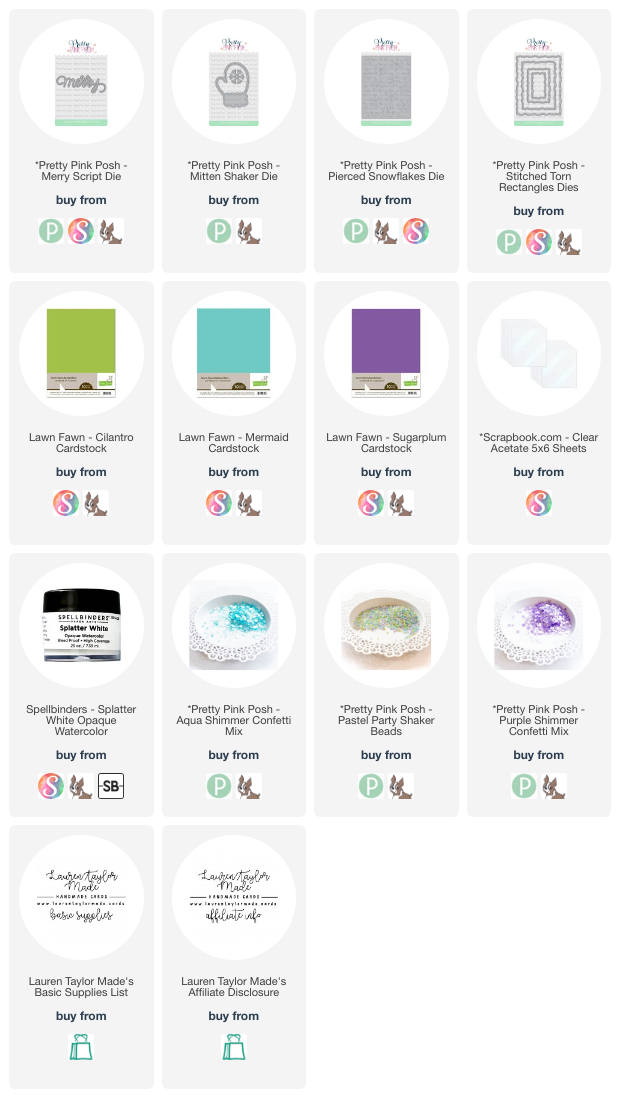
I started with doing some die cutting with the Pierced Snowflakes Die with some light teal cardstock. I then cut it down with the largest Stitched Torn Rectangle Die and the Mitten Shaker Die from the center. This will be the front of our shaker panel. I added some white paint splatter and set it aside to dry. Using the Mitten Shaker Die, I cut out the mitten and snowflake out of sparkly white cardstock and the Merry Script Die out of green and purple cardstock for the sentiment of the card.
 |
 |
When the splatter was dry, I added acetate to the back side of the light teal panel and a piece of purple cardstock to the card base to be the “back” of the shaker. You can follow along in my video today to see how my shaker is put together, but I added foam adhesive around the back side of the light teal shaker panel to outline around the mitten shaker opening and the shaker bits on the purple cardstock, then sandwiched them inside by adhering the light teal shaker panel to the front of the card base. My shaker bits were made of Aqua Shimmer Confetti Mix, Purple Shimmer Confetti Mix, and Pastel Party Shaker Beads.
I adhered the white mitten die cuts to the front of the card to finish off the shaker opening. My sentiment was layered together so the purple “merry” creates a drop shadow look behind the green and adhered the sentiment to the card. I hope you had some fun with me today and you’re inspired to get a head start on your holiday card making!

Post a Comment