You'll Join Us Someday Halloween Card for Twiddler's Nook Spooktacular!

Thursday, October 31, 2024

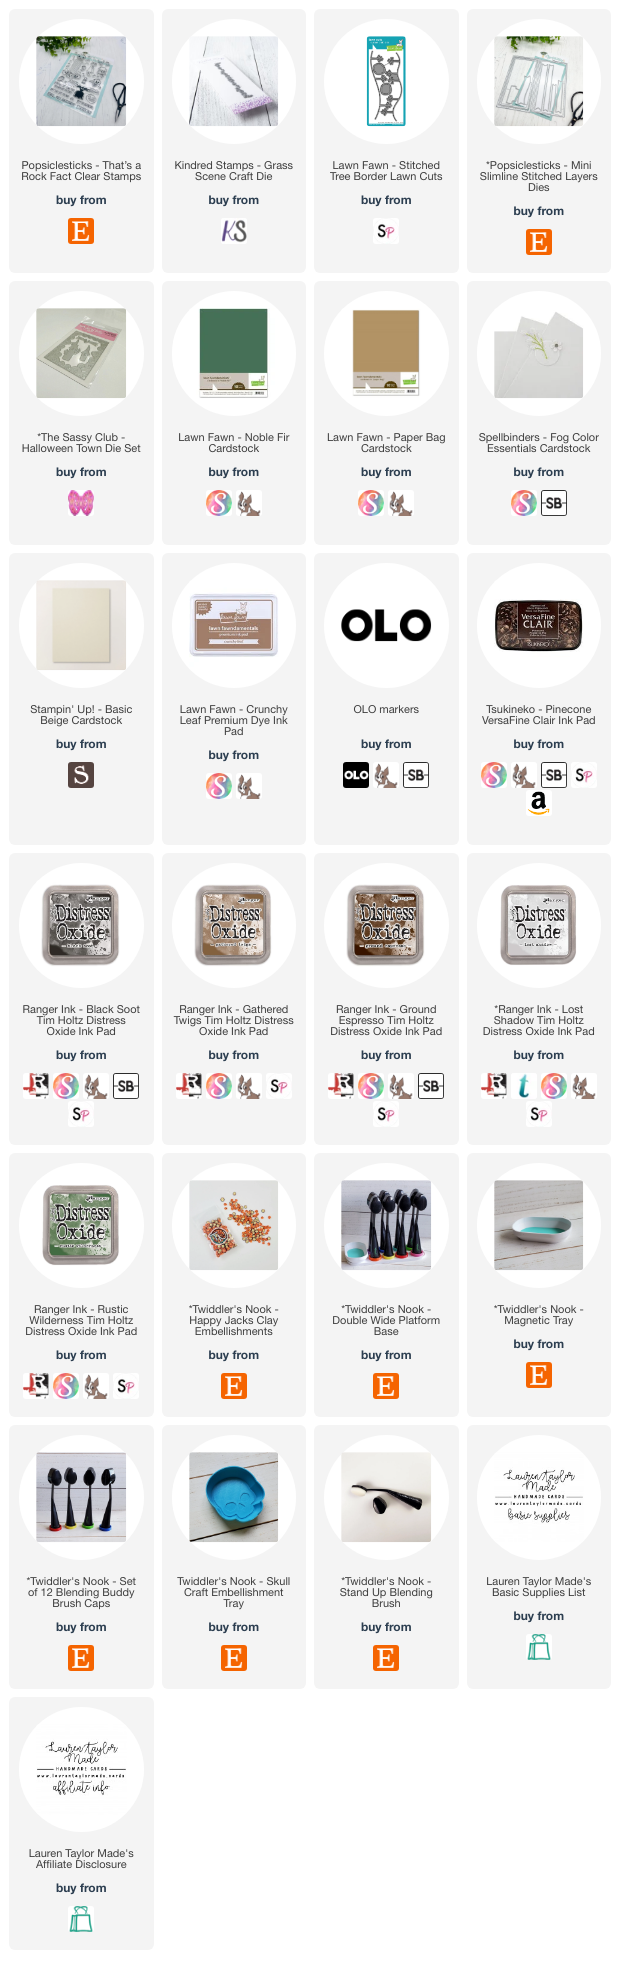
Today is the trifecta! It's Halloween (the best holiday), last day of the month (Halloween inspiration) and it's the big finish of the Twiddler's Nook Spooktacular! So of course I'll be highlighting using Twiddler's Nooks products in my video (brushes, magnetic tray) and I used the Happy Jacks Clay Embellishments. These embellishments were just begging to be used with my Rock Facts stamp set from Popsiclesticks.

If you're like, what the heck is going on in this card? You have to watch my YouTube video as I'll give you some insights to this older, cartoon mini-series that Davina from Popsiclesticks told me about and Abi and I became instantly obsessed. I used the stamp set for my images and sentiment, embellishments from Twiddler's Nook, scenery dies from Lawn Fawn and Kindred Stamps, and the swirly frame is from The Sassy Club.

Let me know your favorite quote from this show and don't forget to hop along with us over on Instagram!

VIDEO TUTORIAL


PIN THIS
SUPPLY LIST

Read More

Not Dead Yet Fandom Card with The Sassy Club

Wednesday, October 30, 2024

My Sassy Sundays are becoming Sassy mid-weeks... But here is my Sassy fandom project for the week! I used it for Craft Roulette (as has been the norm for the past few weeks) and actually kept things kinda simple to let my colored characters be the highlight of the card. I started with stamping all of my images and colored them in with Olo Markers. I also stamped my sentiment in the speech bubble and fussy cut all of them out.

My background is made of diagonal striped pattern paper and two layers of the Slime Die from The Sassy Club. I did spray my red cardstock with glimmer spray to give it some subtle shine so I don't make it too glittery. But still has glitter, because I love shine! I added some Black Soot Distress Ink to the pattern paper and splatter before layering everything together.

My images are then added with foam adhesive and I stamped a secondary sentiment to one of the openings in my background because I really liked the sentient with these characters. I love my little short king doggo in the corner the most on this card, but let me know what you think of this card! I leaned into the red pasta color for the Craft Roulette parameters, but let me know if you think I hit the four parameters with my card.

PIN THIS
SUPPLY LIST

Read More

Spooky Wishes Halloween Card with Pretty Pink Posh

Can you believe tomorrow is Halloween? I'm getting a couple more posts for October that are Halloween themed (even though you know that I do a monthly Halloween card). I'm sharing a project I made for a Pretty Pink Posh release - I just love the vertical sentiment on this card! When creating, I really wanted to make a night scene with the Layered Birch Trees Stencils. I stenciled the (A) layer with Picket Fence Distress Ink and then sprayed the whole panel with Iridescent Glitter Dust. When it was dry, I used the (B) stencil with Grrr! Lunar Paste to add in the tree details. I sent it aside to dry and once it was, I trimmed the panel to 4x5.25”. 

Next I stamped and colored in my images from the Batty About You Stamp Set with alcohol markers and used the Coordinating Dies to cut out the images. I also die cut the third Stitched Torn Rectangle from purple cardstock and stamped my Spooky Wishes sentiment from Upright Greetings: Halloween Stamp Set with black ink. I adhered the moon image to the purple rectangle and popped up the bat and branch with foam adhesive. I adhered the stenciled panel to an A2 card base and popped up the purple rectangle with the images to the center of the card with foam adhesive. I hope you have a fun and safe Halloween tomorrow!

PIN THIS
SUPPLY LIST

Read More

Background Ideas with the Spellbinders October 2024 Clubs

Tuesday, October 29, 2024

I finally got some projects made with my Spellbinders October 2024 Clubs. I'm embarrassed it took me this long to get some cards made, but like I talked about in my previous video... Life has been CRAZY busy. I had a major accomplishment today at work, so I finally feel like I'm cresting the difficult mountain I've been on and things will start falling more into a rhythm soon.

But anyway, back to my video! I'm sharing how I used a few of the October 2024 Spellbinders Clubs to create 5 different backgrounds. I use the 3D Embossing Folder, Stencils, BetterPress and Glimmer Hot Foil but brought in all of the Clubs in some way over all of the five, final cards. You can see in my video down below how I created beach of my backgrounds.

For the pink bunny slippers card: I added a foiled sentiment (from BetterPress), die cut slippers and legs (from Large Die) and added texture to the pajamas (with Embossing Folder). My Christmas lights card: I colored in the foiled lights with alcohol makers and added a foiled sentiment (from BetterPress) as well as a Wax Seal. The polar bear card: I used the large foiled sentiment (from Glimmer) with my adorable bear (Die).

My pink critters card: I stamped my images and cut them out with the coordinating die (Clear Stamp + Die) after I colored them in with alcohol markers. My Christas tree card: this background worked well with adding in the amazing die cut images (Stitching) with the stitched details and my foiled sentiment (from BetterPress). I hope you like my backgrounds and get some ideas for those Club Kits! See you earlier in November for the next set up Clubs.

VIDEO TUTORIAL


PIN THIS
SUPPLY LIST

Read More

Artist Inspired Rustic Rainbow Card with Simon Hurley create.

Monday, October 28, 2024

There is a fabulous new release from Simon Hurley create. and Ranger Ink today! I'm using new stamps on my card today that were gifted from Ranger Ink. I just love this sweet artist bat from the Inspired stamp set. I also used the new Brushstrokes background stamp to create a rustic rainbow background. You can watch the short video down below how I created my background!

My adorable bat image was stamped with an archival ink pad and watercolored with Simon Hurley create. ink. I really wanted the background to be star of the show and I hope you like the colors I chose for my rustic rainbow. Let me know what you shop from the new release!

VIDEO TUTORIAL


PIN THIS
SUPPLY LIST

Read More

Nativity Play Slimline Card with Kindred Stamps

Friday, October 25, 2024

Happy Fandom Friday (night)! I wanted to show how I colored in these adorable characters from the new Kindred Stamps Nativity Plan set so the bulk of today's video is coloring. I also walk you through how I created a quick and easy Stage scene on a slimline card. It's been so long since I've made a slimline card, I even forgot the dimensions! But I think it turned out super cute, even if my angel takes up too much space and hides some of the characters.

Make sure to head over to my Instagram to see more cards I made with this new stamp set! I do show them real quick in my video, but you can see lots of photos of three other cards that I made for the release. In case you want to know what I used in those cards, I have a supply list you can find here. Let me know what you like from the new release in the comments!

VIDEO TUTORIAL


PIN THIS
SUPPLY LIST

Read More

Holiday Greetings Doily Tree with Papertrey Ink

Thursday, October 24, 2024

The Doily Trees from Papertrey Ink are so dang cute! I used the March 2020 SheetLoad of Cards Sketch as inspiration for the layout and followed the card sketch using the Holiday 6x8 paper pad from Scrapbook.com. I also die cut the base part of my tree from the same paper pack. I stamped my images from the Doily Trees set with different Distress Ink colors.

Before adding my patterned paper, I distressed the edges with Tea Dye and used the same color to add some distress to the doily cutout. The stamped images and sentiment have coordinating dies so I cut those out as well, then assembled my tree together. Once I added everything to my card base, I added some Pops of Color in Dusty Rose and Gold Glitter for some extra shine.

I think this set might be one of my favorites from the latest release that was gifted to me from Papertrey Ink! I think the doily trees are just the cutest.

PIN THIS
SUPPLY LIST

Read More

Mice Day Box Card with The Sassy Club

Wednesday, October 23, 2024

Okay, I know it's Wednesday afternoon and I'm jutting my Sassy Sunday card up... It's been a heck of a few days trying to get back into the swing of things from traveling last week for work. I just cannot seem to catch up! I'm hoping over the next few days and next week, I'll get back to my usual posting schedule but for now, I'm just trying to hold on!

The card I'm sharing today is my card for last Friday's episode of Craft Roulette. I made the box card from pink cardstock and blue gingham paper from my stash. I added my sentiment on a banner to the front of the box card because I didn't want to cover up too much of the pretty gingham paper on the front of the box.

My adorable Sassy images are from Sew Mice (or So Mice) and I stamped and colored them in with alcohol markers. I used my Scan N Cut to cut them out and did a little bit more cutting in between areas like, the mice tails or ribbon around the dress. For the parameter of jewelry, I added some pearls around the card - I should have colored them to be teal-ish like the mice find in the movie!

Looking forward to sharing more with you the rest of the month! Let me know which Sassy Club product you'd like to see for a future Sassy Sunday post in the comments.

PIN THIS
SUPPLY LIST

Read More

Hey Pumpkin Halloween Card with Simon Hurley create. & Ranger Ink

Sunday, October 20, 2024

I have a Halloween card to share with you using Simon Hurley create. products from Ranger Ink! Start with stamping the Paint Swatches in Crown Me, Guppy and Traffic Cone on light grey cardstock trimmed to A2 (4-¼ x 5-½”). Apply Crown Me, Guppy and Traffic Cone Lunar Pastes through the Ghosted stencil using the Paste Tool Set. Once the background is dry, add to an A2 card base. Trim a panel of vellum and black cardstock and attach to the center of the card with foam adhesive.

Stamp two pumpkins and ghost from the Fall Sampler set in the same ink colors and cut out with the Coordinating Dies. Stamp the sentiment and fussy cut around the sentiment. Add the pumpkins with liquid adhesive to the black panel. Add the ghost and sentiment with foam adhesive to the panel. You can watch a quick video down below if you ant to see how the background was made!

VIDEO TUTORIAL


PIN THIS
SUPPLY LIST

Read More

Nightmare Wreath for Fandom Friday - New Release from Pretty Pink Posh!

Thursday, October 17, 2024

The new release from Pretty Pink Posh is here! There are some really great, new products for the upcoming holiday season and they mix perfectly with other, previously released products. I mixed in some dies from the Halloween release to help me create this Nightmare Before Christmas inspired holiday wreath card. Perfect for my Fandom Friday YouTube video series as well!

You can watch my video down below after you finish hopping along with all of the other Pretty Pink Posh creators on today's blog hop. I go over how I put together my wreath and found some paper that reminds me of Nightmare, too. Everything from the wreath is from the new Wreath Builder Die Set, with the exception of teeth from the Big Halloween Cupcake Dies. I added a sentiment from the Winter Greetings Stamp Set and Coordinating Dies.

Make sure to check out the rest of the Product Release Blog Hop for more inspiration using the new products from Pretty Pink Posh! There are three (3) $30 gift certificates up for grabs (one winner each day). Winners will be picked randomly along the blog hop. Comments must be left by 11:59 PM PST on 10/22/2024. Winners will be announced on the PPP blog!

BLOG HOP DAY 3 LINEUP

Pretty Pink Posh blog

Rachel Alvarado

Jill Hawkins

Lauren Taylor

Jeanne Jachna

Emily Mydlowski

Rebecca Keppel

Kristie Marcotte

Laura Evangeline

VIDEO TUTORIAL


PIN THIS
SUPPLY LIST

Read More