Fang-tastic Box Card with Pretty Pink Posh

Tuesday, December 31, 2024

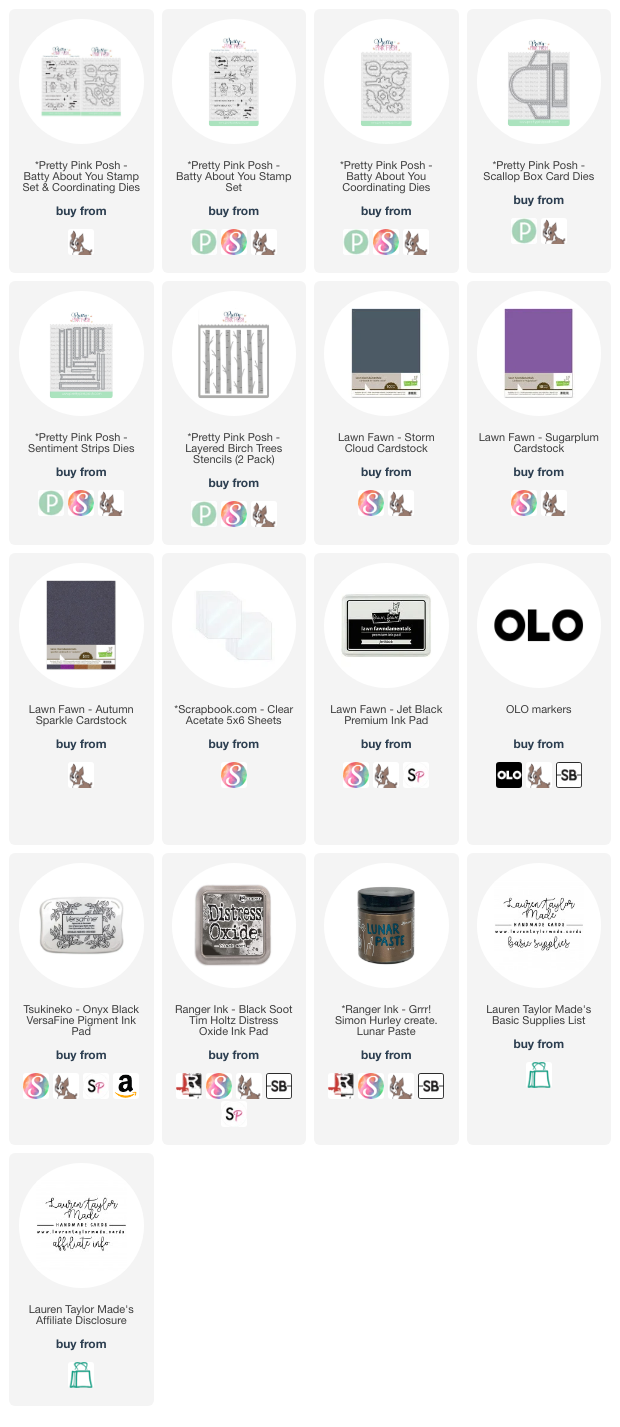
Hi, friends!  I am back with a new video continuing my Pretty Pink Posh box card series for the year with the best time of year - Halloween! To start my card, I am going to do my stenciling first as I’m going to be using stencil paste and want to make sure the details dry while I work on other parts of the card. I cut the Scallop Box Card Dies (the back arch and two rectangles) out of purple cardstock and used the Layered Birch Trees Stencils. For the (A) stencil I used Black Soot Distress Oxide and for the (B) stencil I used Grrr! Simon Hurley Lunar Paste.

While that was drying, I cut the Scallop Box Card Dies side scallop pieces and one more rectangle out of brown glitter cardstock and the base of the box card out of dark grey cardstock. I assembled the box together and you can follow along in the video if you’d like to see each step of the process. Once the box card was assembled and I added on all of the scalloped pieces - including the stenciled pieces once they were dry - it’s time to decorate! I stamped all of the bats from the Batty About You Stamp Set and colored them in with alcohol markers. I used the Coordinating Dies to cut them all out after I added some white highlights with a gel pen.

For the sentiment, I die cut a scalloped rectangle out of purple cardstock and a rectangle from white cardstock from the Sentiment Strips Dies. I stamped my sentiment with a black ink from the Batty About You Stamp Set. I added the sentiment strips and a bat to the front of the box card and a few bats to the back arch with foam adhesive. There are two bats I added with acetate strips to the center pieces of the box card so it looks like they’re flying! I just love how fun this card turned out and honestly I think you could use for any bat lover in your life, not just for Halloween. I hope you enjoyed the Halloween box card and I’m excited to get more in the fall mood for next month!

VIDEO TUTORIAL


PIN THIS
SUPPLY LIST

Read More

Love You Lots Heart Card with Pretty Pink Posh

Monday, December 30, 2024

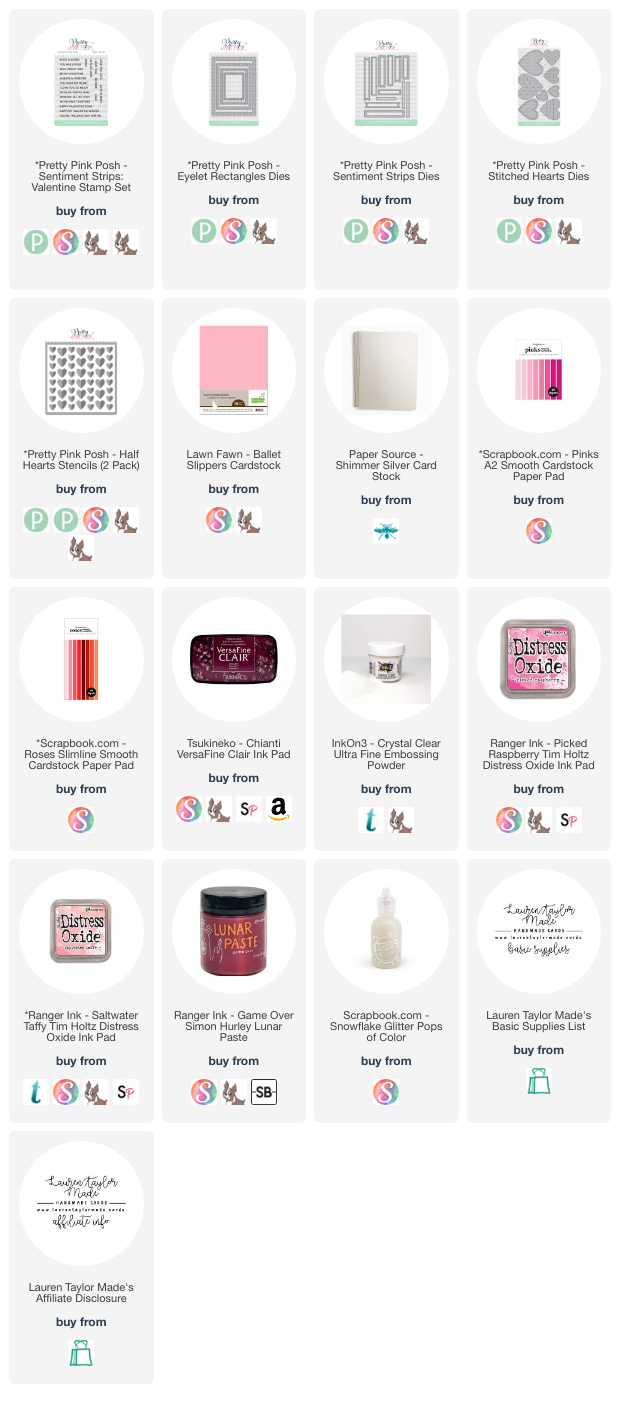
Hi, friends! As the year wraps up, I’m thrilled to share that I’ll be continuing on the Pretty Pink Posh Video Team in 2025! Being part of this amazing team has been such a joy, and I’m so excited to bring you even more creative inspiration in the new year. Today, I’m revisiting one of my favorite stencil sets from an earlier release—the Half Hearts Stencils—and sharing a soft and romantic card design that’s perfect for so many occasions.

For this heart-filled card, I used the Half Hearts Stencils on light pink cardstock. With stencil (A), I blended Saltwater Taffy Distress Oxide, and for stencil (B), I layered Picked Raspberry Distress Oxide on the larger hearts and added shimmer with Game Over Lunar Paste on the smaller ones. After the background dried, I die-cut it using the Eyelet Rectangle Die and adhered it to a silver shimmer cardstock base with foam adhesive for added dimension. To finish the card, I added die-cut hearts from the Stitched Hearts Dies and a sweet sentiment using the Sentiment Strips Dies and the Sentiment Strips: Valentine Stamp Set.

I loved creating this card and hope it inspires you to revisit some of your favorite supplies! Whether you’re crafting for Valentine’s Day or just want to send a little love, the Half Hearts Stencils are a must-have for creating sweet, heart-filled designs.

PIN THIS
SUPPLY LIST

Read More

What A Thrill Scout Card with The Sassy Club

Saturday, December 28, 2024

Hello fellow crafters! Today, I’m excited to share my latest card-making adventure with you. I found inspiration in the vibrant colors and patterns of tropical designs inspired by Beverly Hills, and I couldn't wait to see how these elements would come together on a mini slimline card. Let me take you through the steps of this creative process, and hopefully, you'll be inspired to try something similar.

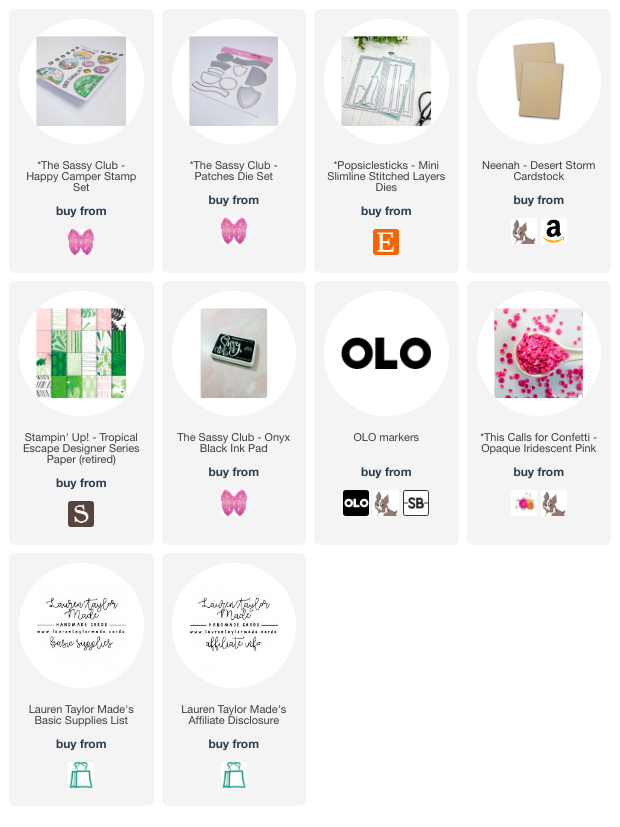
To start, I die cut the background using Popsiclesticks Mini Slimline Dies from a delightful pink patterned paper. Since I used a 6x6" paper, there was a little gap on the 6.5" side. No worries though! I cleverly hid this gap with a piece of green leaf-patterned paper, which I trimmed to perfectly match the size of the leaves. Although this particular paper is retired, you can easily substitute it with any other tropical pattern you have on hand to achieve a similar look.

Next, I focused on adding some delightful stamped images. I chose the Happy Camper stamp set from The Sassy Club, stamping the designs and coloring them in with my OLO markers. The colors really popped! To make cutting easy, I used my Scan 'n Cut, which did a fantastic job of cutting out each image precisely. Then, I die cut semi-circle and shield patches from green patterned cardstock, which added a cohesive touch to the card’s tropical theme.
For the sentiment, I stamped on Kraft cardstock using black ink and die cut it to fit perfectly. Layering the coordinating images onto the die-cut patches with foam adhesive gave the card a dynamic, three-dimensional effect. Finally, I added all the images and the sentiment to the card base, completing the look with a sprinkle of pink sequins for shine and embellishment. The end result is a vibrant, fandom-themed card that truly brings a slice of paradise to life. Happy Sassy Saturday!

PIN THIS
SUPPLY LIST

Read More

Boo To You Fandom Birthday Card with Kindred Stamps

Friday, December 27, 2024

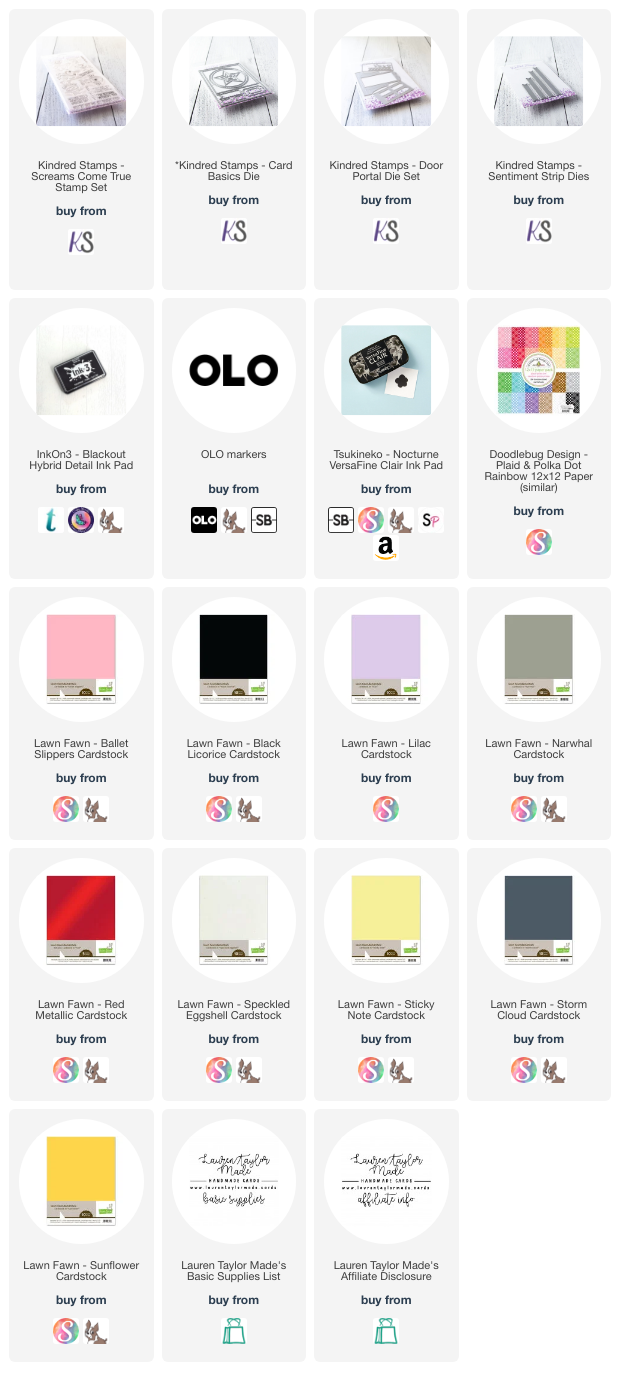
Hi friends! Welcome back to my craft room for this week’s Fandom Friday project. I had such a blast creating a birthday card using the Kindred Stamps "Screams Come True" stamp set and the coordinating "Door Portal" die set. These products together allowed me to craft some adorable characters and an adorable, detailed door that’s bound to bring a smile to anyone’s face.

I started with my characters, carefully coloring them and focusing on blending techniques to bring them to life. The big, furry monster has a playful combination of colors that make his fur look scraggly yet cohesive. For the shorter green monster, I added shading and texture to give him a rounded appearance. The little girl in her costume was so fun to color, with her adorable hood and detailed hair bringing extra charm to the set.

Once the coloring was complete, I moved on to assembling the door portal. I used eggshell and pink cardstock to mimic the movie’s iconic door, layering the assembled dies onto a polka-dot patterned paper for the background. I even added a red metallic light above the door, which catches the light beautifully. After adhering the door with liquid adhesive, I positioned my characters using foam adhesive for dimension.

I’m so thrilled with how these cards turned out, both in portrait and landscape layouts. The attention to detail in matching the movie’s door and characters made this project extra special. Whether you're creating a birthday card or just spreading some fandom love, I hope this inspires you to dive into your stash and bring your favorite characters to life. Thanks for joining me today, and happy crafting!

VIDEO TUTORIAL


PIN THIS
SUPPLY LIST

=

Read More

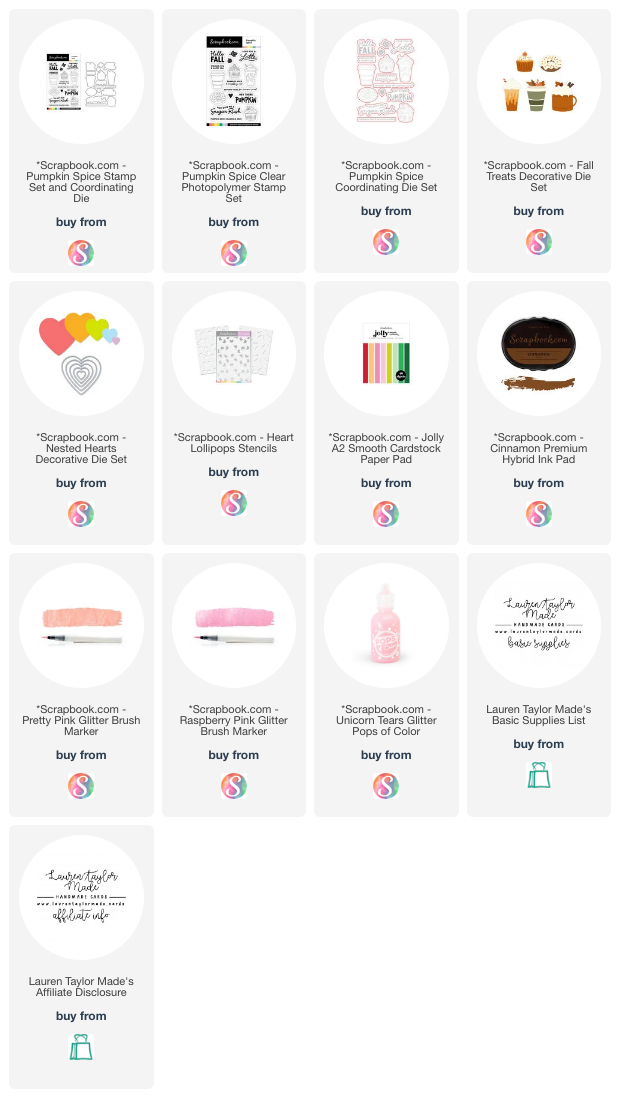
Love You a Latte Valentine' Day Card with Scrapbook.com

Thursday, December 26, 2024

Last Friday, I tuned into Craft Roulette and felt so inspired by the episode’s creative parameters. The challenge was to make a holiday card using colors inspired by trees, incorporate a drinking vessel, and include something found on your floor. With Valentine's Day around the corner, I decided to craft a card full of love and whimsy, and I couldn’t wait to dive into my stash of Scrapbook.com Exclusives to make it happen.

I began by trimming a piece of pink cardstock from the Jolly A2 Pad to 4x5-1/4". This served as my base, and I stenciled the Heart Lollipops pattern using Cinnamon ink for warmth and Unicorn Tears Pops of Color for a touch of shimmer. To add a focal point, I die-cut a Nested Heart from white cardstock, ink-blended it with Cinnamon for dimension, and splattered it along with the stenciled background with Glitter Brush Markers in Pretty Pink and Raspberry Pink.

Next came the centerpiece: a charming coffee cup inspired by Starbucks. Using the Fall Treats dies, I cut the pieces from white and green cardstock (also from the Jolly pad). After ink-blending the drink sleeve with Cinnamon, I stamped a tiny heart on it to tie in the Valentine’s theme. The sentiment, “Love You a Latte,” came from the Pumpkin Spice stamp set. I stamped it, die-cut it with the coordinating die, and adhered it to the card for a playful yet heartfelt touch.

To assemble the card, I layered all the elements together and added a few drops of Pops of Color for extra embellishment. As for the “something from my floor,” I used a Heart Lollipops stencil that had been in a box on my craft room floor, proving that even overlooked supplies can shine! This card not only met the challenge but also filled my heart with joy. Crafting with intention and a touch of spontaneity always brings out the best in creativity.

PIN THIS
SUPPLY LIST

Read More

Merry Rex-mas Christmas Dinosaurs Card with Pretty Pink Posh

Wednesday, December 25, 2024

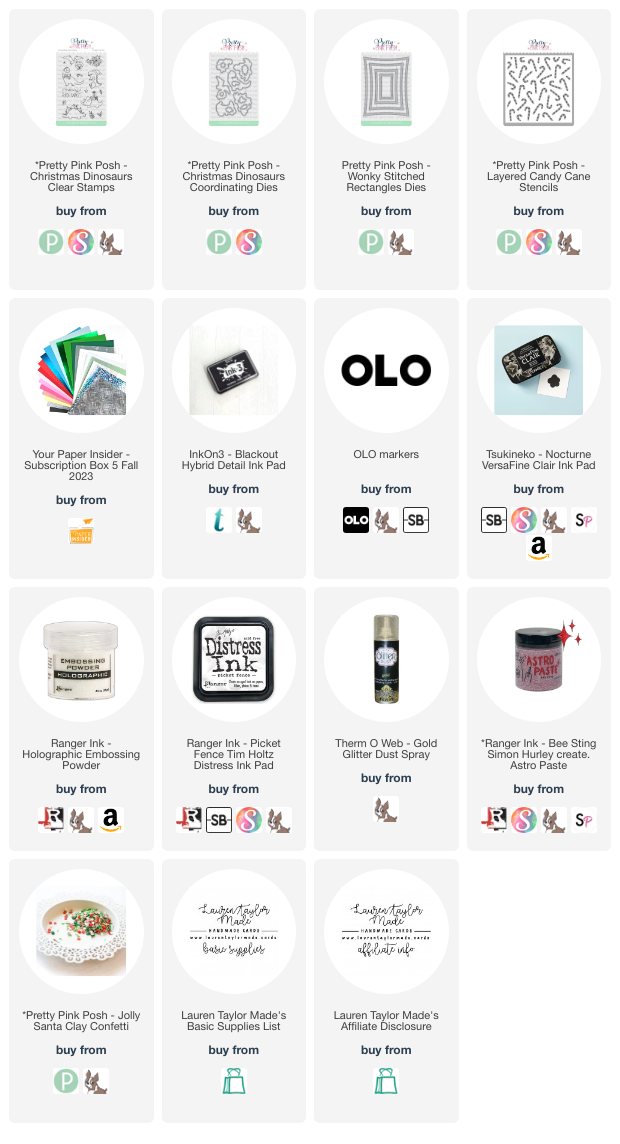
In today’s tutorial, I’m excited to show you how to create a fun and whimsical Christmas card featuring the adorable Christmas Dinosaurs Stamp Set. I started off with some stenciling using the Layered Candy Cane Stencil Set. For the first layer, I applied Picket Fence Distress Ink through the stencil, focusing on the outer edges of the candy canes. I had to layer the ink a few times to get a nice, vibrant result, especially since I was working on green cardstock. After the ink dried, I sprayed the whole panel with Gold Glitter Dust, which not only seals the white ink but also gives it a beautiful shimmer. For the second layer, I added Bee Sting Astro Paste to give my candy canes some red stripes. The glitter really pops once the paste dries, giving the candy canes a stunning, glittery look!

Next, I moved on to the dinosaurs—my favorite part of this card! I stamped all of the Christmas Dinosaurs from the set with alcohol marker-friendly black ink and then used Olo markers to color them in. I wanted to keep them in more natural, reptile-inspired colors so I used browns, greens, oranges and blue. Once I had all my Christmas Dinosaurs colored in, I die-cut them with the Christmas Dinosaurs Coordinating Dies. To create some separation between the busy stenciled background and the dinosaurs, I layered them on vellum cut from the second largest Wonky Stitched Rectangles Dies. Vellum is perfect for this because it softens the design and lets the cute critters stand out without getting lost in the background. I also added a holographic embossing powder to the "Merry Rex-mas" sentiment, giving it a subtle, shimmering finish. 

To finish up, I used foam adhesive to pop up the dinosaurs on the vellum. I then adhered the whole piece to my A2 card base and added some extra embellishments with red and white clay confetti. These little Jolly Santa Clay Confetti are perfect for adding just the right touch of holiday cheer. I’m so happy with how this card turned out—it’s whimsical, sparkly, and full of festive fun! I hope this tutorial inspired you to try some stenciling and get creative with your holiday cards this year. Happy crafting and happy holidays!

VIDEO TUTORIAL


PIN THIS
SUPPLY LIST

Read More

Disco Ball Party Light Up Card with Scrapbook.com

Monday, December 23, 2024

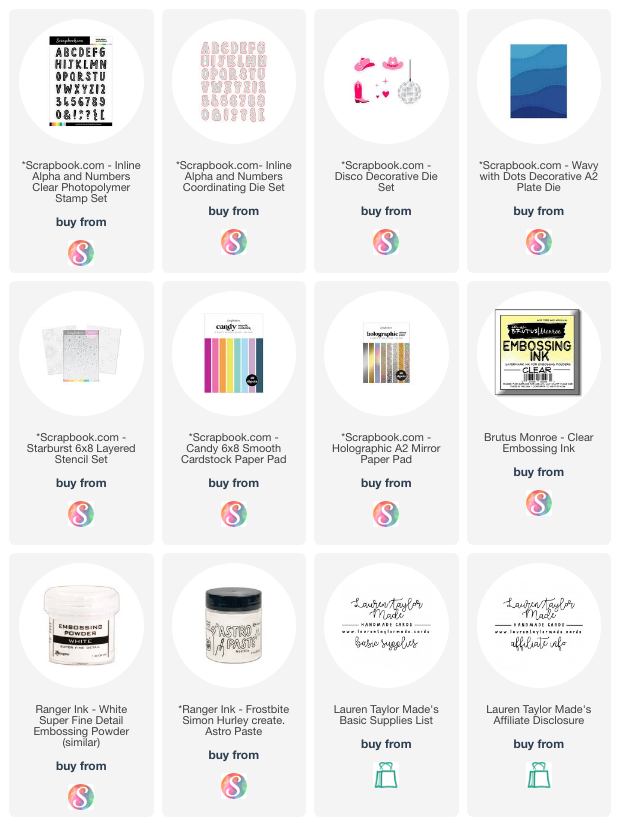
I’m so excited to be sharing a fun light-up card with you today to celebrate Pear Blossom Press now being available at Scrapbook.com! If you’ve been following along with me for a while, you know I’m a huge fan of their products—especially the World's Best Foam Tape and all of the different light sets. For this card, I’m using the original EZ Light. It’s so easy to work with—just slide the battery into the pack, press the button, and the LEDs light up. Seriously, creating a light-up card has never been this simple!

I prepped a lot of the pieces for my card before recording, like die cutting, stenciling, and prepping my background using the Wavy with Dots A2 Plate and the Starburst stencil set, all from the new Candy 6x8 paper pad. I also die cut a disco ball from the Disco Decorative Die Set, which I’ll be adding the LEDs to. To secure everything, I’m using Pear Blossom Press's foam tape to create a dimensional layer for my background and battery pack. Once the background is set, I attach the LEDs to the back of my disco ball, making sure the lights peek through the die-cut stars. A little clear tape holds everything in place, and the final touch is adding my sentiment, a celebration-themed "party" embossed with white powder. I love how this card turned out—it’s bright, fun, and the lights just take it to the next level! Thanks to Pear Blossom Press for making light-up cards so easy and so much fun!

VIDEO TUTORIAL


PIN THIS
SUPPLY LIST

Read More

Hoppy Holidays Tag with Trinity Stamps

Sunday, December 22, 2024

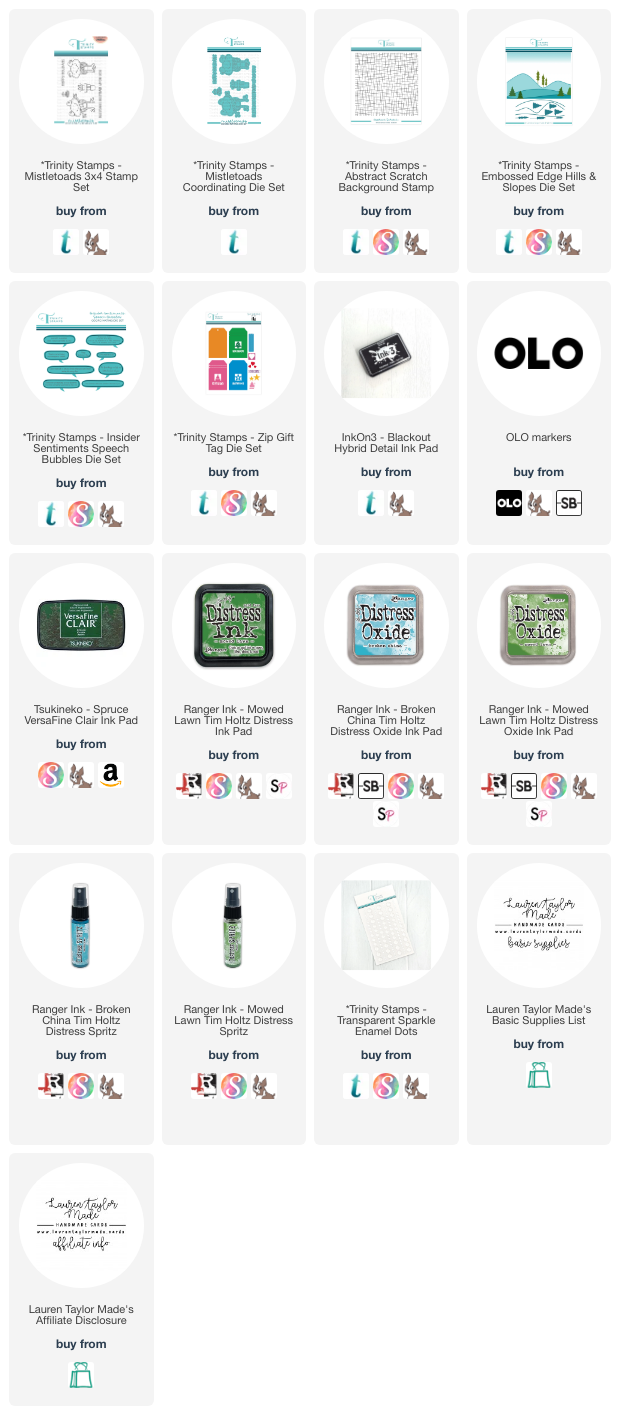
I’m so excited to share this project I created for Trinity Stamps’ 12 Days of Christmas Tags series! Making this festive tag was such a fun process, and I’m thrilled to show you how it came together. To start, I used the Zip Gift Tag Die Set to cut my tag shape from watercolor cardstock, making two die cuts. One of the die cuts was trimmed with the Embossed Edge Hills & Slopes Die Set to form a pond piece.

I added a lush green hue to the main tag using Mowed Lawn Distress Oxide, blending it beautifully onto the cardstock. I also inked the small edge piece to match, then stamped the Abstract Scratch Background Stamp with Mowed Lawn Distress Ink for some texture. A quick spritz with Mowed Lawn Distress Spray added a nice, distressed look.

For the pond, I blended Broken China Distress Oxide and gave it a similar spritz with Broken China Distress Spray. Once everything dried, I layered the pieces together onto the full tag. Next came the stars of the show, the adorable Mistletoads! I stamped them with Fadeout ink, colored them with Olo Markers, and re-stamped using Spruce VersaFine Clair before die cutting them out. I also stamped and die-cut a festive sentiment, which I layered onto a die-cut Insider Sentiments Speech Bubble with thin foam adhesive.

After assembling the tag with the toads, sentiment, and a bit of dimension using foam adhesive, I tied it all together with baker’s twine. For the final touch, I added Transparent Sparkle Enamel Dots around the pond for a hint of shimmer. This tag was so much fun to create, and I hope it inspires you to make your own holiday tags! Want to see the process in action? Check out my YouTube Short for a quick video walkthrough!

VIDEO TUTORIAL


PIN THIS
SUPPLY LIST

Read More

Hey Now Get Animated - New Release from Kindred Stamps

Friday, December 20, 2024

Hey friends! It's time another Fandom Friday project. Today, I’m using playint with the latest release from Kindred Stamps, featuring the “Get Animated” set. If you grew up loving early 2000s TV (like me), you’re going to adore this nostalgic blast from the past. I’ll walk you through my coloring process with olo markers and how I used inspiration from the show’s logo to create a vibrant card that’s full of personality. In today's video I show my coloring of the animated character and her “real-world” counterpart.

To bring it all together, I stenciled a bright pink cloud background with Distress Oxide in Picked Raspberry, adding a blue border inspired by the show’s logo. The finishing touches—like the “Hey Now” sentiment and a few splashes of shimmery yellow watercolor—made this card pop! As a bonus, I used the same stamp set to create a matching shaker card, incorporating those same bright, nostalgic colors. Both designs celebrate early 2000s fashion and fun, perfect for fans of this beloved show. I hope you enjoyed crafting along with me and that these cards inspire your next creative project! Thanks for stopping by, and happy crafting!

VIDEO TUTORIAL


PIN THIS
SUPPLY LIST

Read More

Gorgeous Friend Sunflower Card with Scrapbook.com

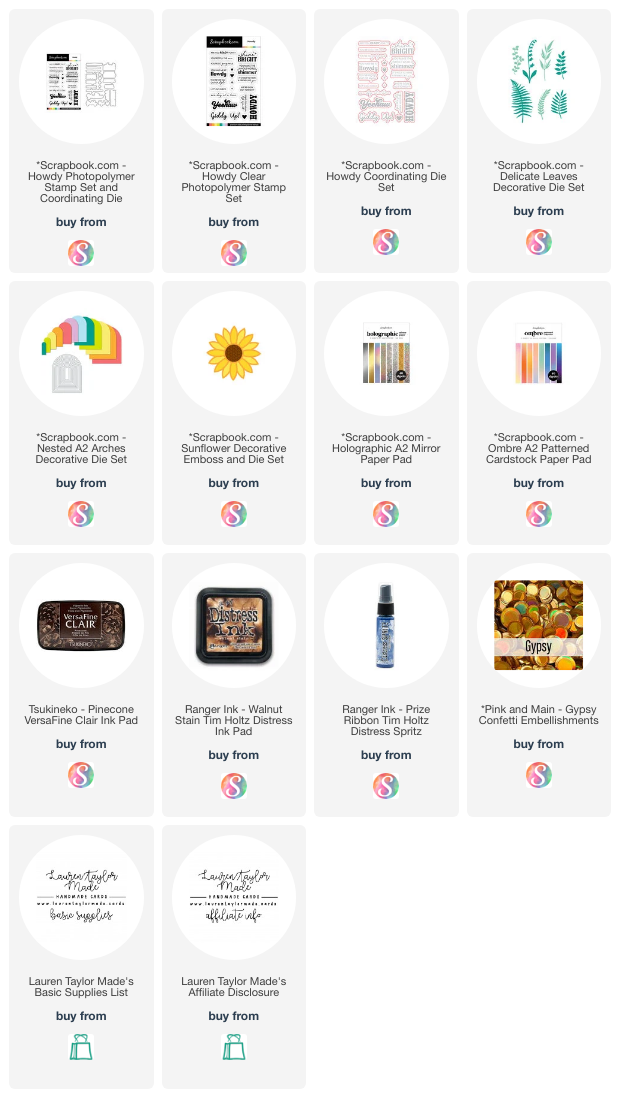
I’m thrilled to share my contribution to the December 2024 Oh So Inspired Collaboration Hop today! This month, my talented crafty friends and I drew inspiration from a project by Justin from “Just a Note by Justin,” whose gorgeous sunflower card captivated me. Justin’s mastery of ink blending and coloring never fails to amaze me, but for this project, I focused on his card’s layout and design.

For my card, I was particularly inspired by the gold cardstock border on Justin’s design. To recreate this look, I used A2 holographic gold cardstock paired with a piece of ombre blue-to-white cardstock, trimming the ombre piece slightly smaller to let the gold peek through. I also die-cut sunflowers and leaves from ombre patterned paper.

Building the focal point was my favorite part. I created an arched frame using nested A2 arch dies and arrange the flowers and leaves around the arch. I used foam adhesive for dimension on the final sunflower and sentiment, ensuring everything popped against the background. To finish, I added sequins for sparkle, channeling Justin’s knack for incorporating gems and shine into his cards.

I’m so happy with how it turned out and grateful for Justin’s inspiring work. Let me know what you think of my interpretation of his card, and don’t forget to check out the playlist linked in the description box of my video to see more fabulous projects from this month’s hop. Thank you for crafting with me today!

VIDEO TUTORIAL


PIN THIS
SUPPLY LIST

Read More