Love You Berry Much Shaker Card with Pretty Pink Posh

Monday, February 3, 2025

Hi, friends! I’m so excited to share a step-by-step guide to creating a sweet Valentine’s Day shaker card. For this project, I’ve combined the adorable Fresh Berries Stamp Set and Coordinating Dies with the newly released Valentine-themed products, including the Valentine Greetings Stamp Set, Coordinating Dies, Double Heart Shaker Dies, and the XOXO Pierced Plate Die. The centerpiece is a double heart shaker element, filled with the lovely Love Shaker Beads and Strawberry Valentine Mix. These vibrant accents inspired me to bring back the strawberries from the Fresh Berries Stamp Set—don’t they pair perfectly?

I began by stamping the images from the Fresh Berries Stamp Set in alcohol marker-friendly black ink on white cardstock. Using my OLO markers, I carefully colored the strawberries with three shades of red for dimension and shine. I added brown tones to the seeds and green tones to the leaves, finishing with subtle highlights using a white gel pen. The flowers were kept white with pale yellow centers for a delicate touch. For the berry basket, I stamped it on kraft cardstock and shaded it with Vintage Photo Distress Ink to create a textured, dimensional look. Once everything was colored, I used the Fresh Berries Coordinating Dies to cut out all the pieces.

Next came the heart-shaped shaker frame, created using the Double Heart Shaker Dies. For the window, I used acetate, hand-trimming it to fit the heart frame. After adhering the acetate with liquid glue, I added foam adhesive strips to the back to build the shaker compartment. Filling it with the Love Shaker Beads and Strawberry Valentine Mix was so fun! The mix of strawberries and clay hearts added just the right festive flair. After securing the shaker to my card base, I assembled the berry basket with its charming strawberries and flowers, layering them with foam adhesive for added dimension.

To finish, I added the sentiment "XOXO" from the Valentine Greetings Stamp Set, embossed in white for a crisp, elegant look, and cut it out with the Valentine Greetings Coordinating Dies. I adhered it to the heart shakers to tie everything together. This card was a labor of love, but seeing it come together made every step worthwhile. I hope you enjoyed crafting with me and feel inspired to pair Pretty Pink Posh's new Valentine products with older favorites for your projects. Thanks for joining me, and stay tuned for more creative inspiration. Happy crafting!

VIDEO TUTORIAL


PIN THIS
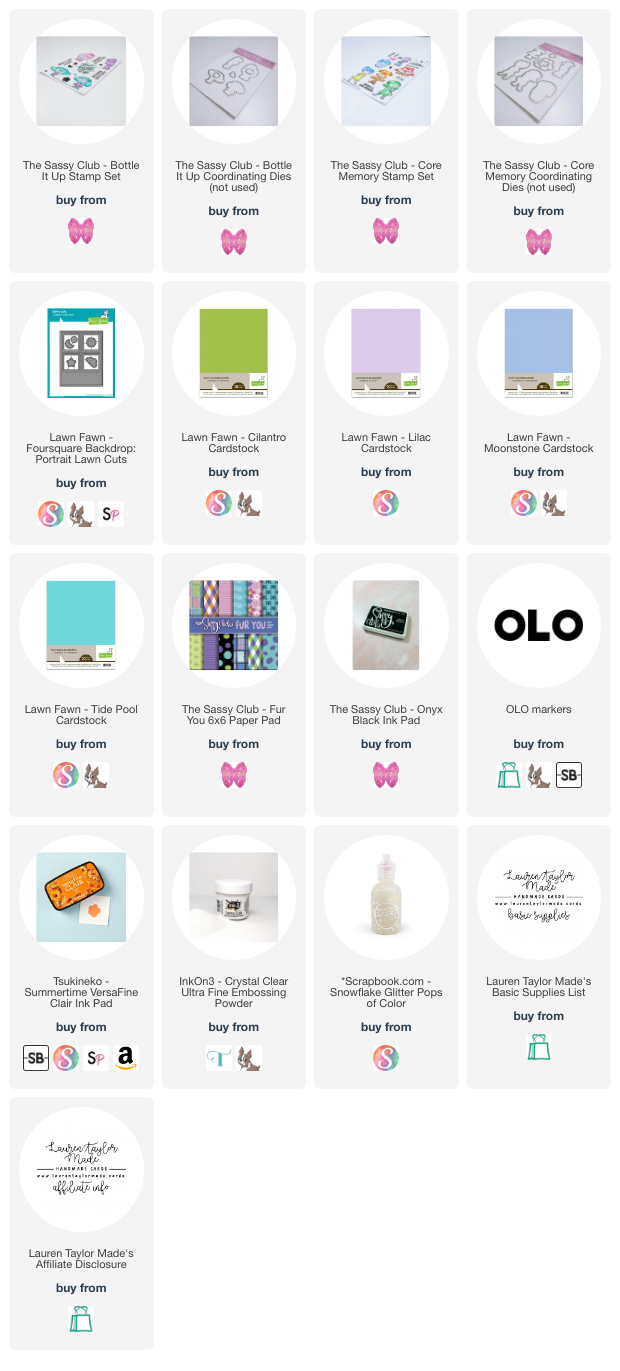
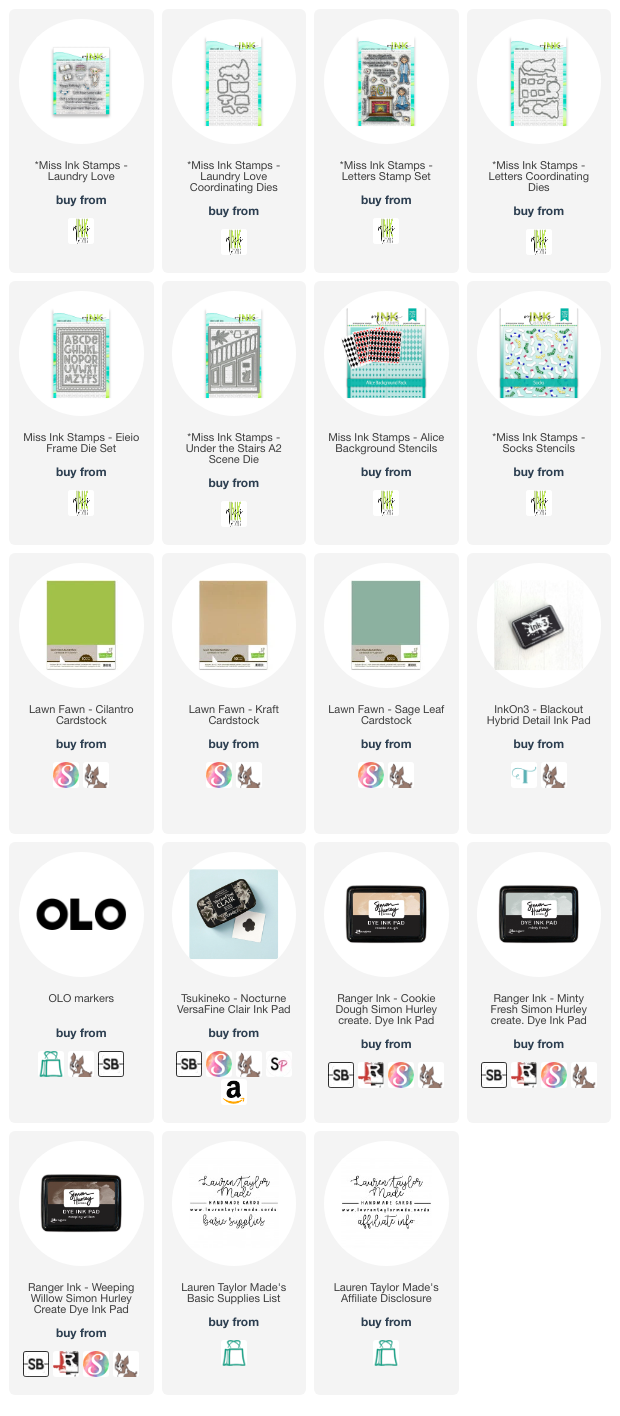
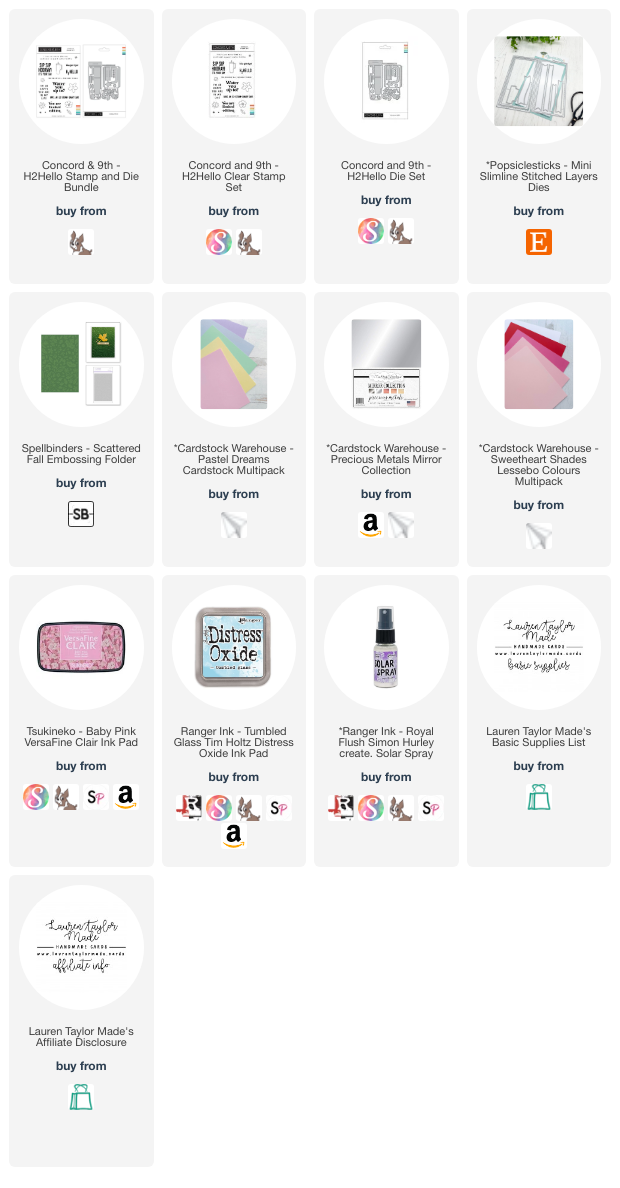
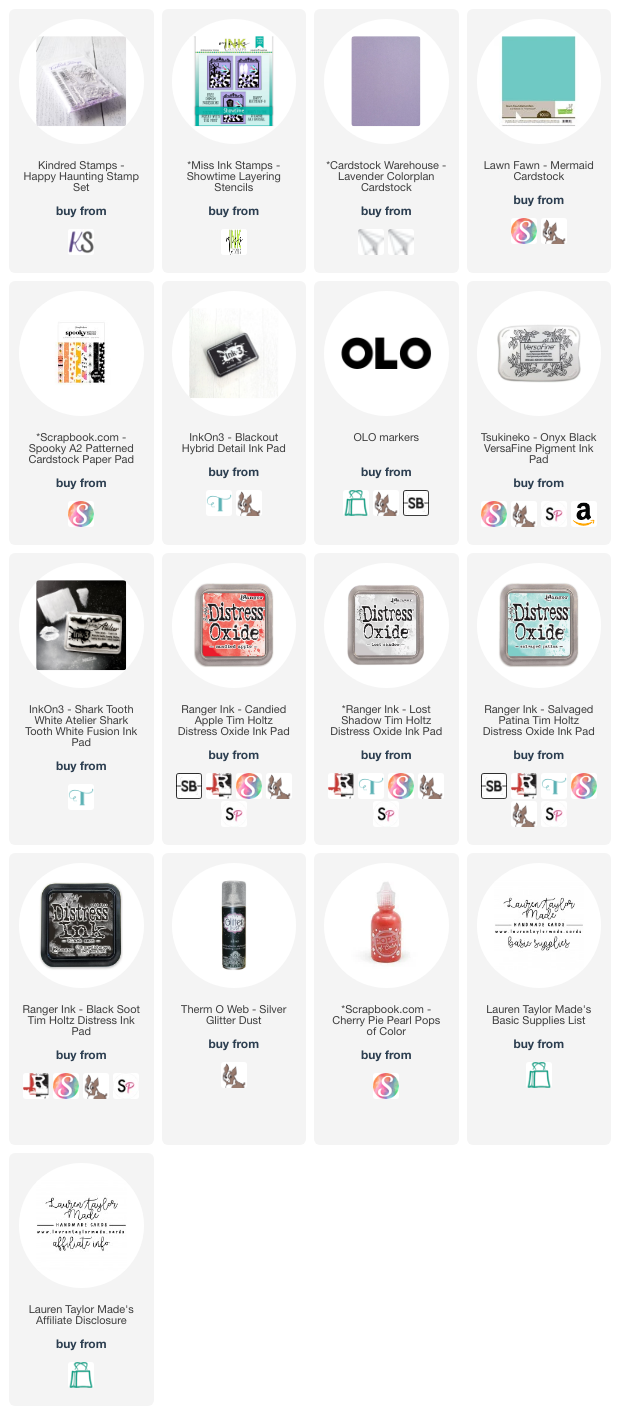
SUPPLY LIST

Read More

Big Pug Hugs with Simon Hurley create.

Friday, January 31, 2025

I had so much fun creating this adorable balloon-filled card featuring the cutest little pug from the Simon Hurley Big Hugs collection! To start, I embossed a piece of Stark White Cardstock with the Party Balloons 3D Embossing Folder, adding so much fun texture. Using the Layered Party Balloons Stencils, I blended Piggyback ink onto the heart balloons and Prom Queen ink onto the circle ones. To make the balloons shine, I added details with Rosy Cheeks and Prom Queen Lunar Paste, giving them a gorgeous shimmer. Next, I die-cut the Mylar Balloons and colored them with Rosy Cheeks Lunar Paste and Piggyback ink using a Mini Ink Blending Tool. For the strings, I simply cut them from grey cardstock and layered them together once they were dry.

The little pug stamp stole my heart! I stamped him with Weeping Willow ink on brown cardstock and used the coordinating die to cut him out. To make him extra sweet, I added a little pink to his tongue with a pink marker. For the sentiment, I stamped “sending big pug hugs” on a strip of Stark White Cardstock using Prom Queen ink, then placed everything onto a card base. As a finishing touch, I stamped “I love you” inside the card in Prom Queen ink—because who wouldn’t love to receive a hug from this adorable pup? This card was such a joy to make, and I hope it inspires you to create something fun and heartfelt, too!

VIDEO TUTORIAL


PIN THIS
SUPPLY LIST

Read More

Woodland Adventures Cards with Kindred Stamps

Hi, friends! Life has been busy this week (traveling for work). But I am FINALLY getting my Fandom Friday video up (even though I'm editing this blog on a Saturday night)... I walk you through my coloring process of all the characters from the Woodland Adventures stamp set. Then we'll go through my process of making a huge, slimline card so all of the adorable images will fit on the card!

I did also make a cute shaker card featuring the adorable donkey stuffie from the set. I used an old sequins mix from a company that is unfortunately not around anymore, but they made the most adorable mixes so still trying to use them up. I kept the card simple and am letting the sequins do the work behind the sweet image.

My last project was a box card and I used the honey pot to create my own patterned paper. I kept the same scene dies to create a scene within the box card and featured the cutest stuffie duo to put on the card. I love the unique shape of Kindred's box card and creating scenes is so easy with their dies. 

Let me know which card is your favorite and what you snag from the latest release. Make sure to check out my video down below if you'd like to see details on how I colored these adorable images. It's a bit of a longer video, but I just wanted to keep in all of my coloring!

VIDEO TUTORIAL


PIN THIS
SUPPLY LIST

Read More

Forever Yours Valentine Cocktail Card with Cardstock Warehouse

Thursday, January 30, 2025

Creating a cocktail-themed card was such a fun and creative process, and I’m excited to share it with you today! The supplies I used really brought this design to life, including the Forever Yours stamps and dies, Love on the Rocks etched dies, and the Columns embossing folder, all from Spellbinders. Pairing these with a gorgeous selection of cardstock from Cardstock Warehouse made it easy to create a cohesive and eye-catching design.

To start, I cut a piece of light pink cardstock from the Sweetheart Shades collection to 3-3/4” x 5” and ran it through my machine with the Columns embossing folder. This added such a lovely texture and set the stage for the rest of the card. Next, I stamped the Forever Yours sentiment on the Onyx Black Stardream cardstock using clear embossing ink from Brutus Monroe and Arctic White embossing powder from Inkon3. The crisp contrast of the white sentiment on the black cardstock really made it pop.

The highlight of the card was the cocktail glass from the Love on the Rocks etched dies. I die-cut all the elements – the glass, liquid sections, ice, strawberries, and pick – using a mix of Sweetheart Shades, Onyx, Pistachio, Stone, Nubuck, and Gesso White cardstock. Assembling the cocktail was so satisfying, and it turned out beautifully! For some added interest, I splattered black paint over the embossed pink background and adhered it to an A2 card base.

The cocktail and sentiment were popped up with foam adhesive for dimension, and I finished the design with a few Graphite Gems for a touch of sparkle. This card was a delight to create, and it’s perfect for celebrating a special occasion or the perfect Valentine. I hope this inspires you to experiment with layering textures, colors, and die-cut elements in your own card-making projects. Cheers to creativity!

PIN THIS
SUPPLY LIST

Read More

Waffle-y Cute Valentine's Day Card with Trinity Stamps

I'm so excited to share this fun card I created using the new release from Trinity Stamps! I started by cutting down a piece of pink cardstock and stamping the heart-shaped waffle stamp with Rosy Cheeks ink to create my own custom patterned paper. I distressed the edges with the same ink for a soft, vintage feel, and then splattered some pink watercolor pigment from Kuretake's Gansai Tambi Gem Colors to add a bit of texture. The waffle stamp was then stamped on white cardstock in a medium yellow ink, and I used the coordinating stencil with a lighter and darker yellow to give the waffle details some depth. To finish the image, I stamped the cute little face in brown ink and cut everything out using the coordinating die.

For the sentiment, I die cut the words from a darker pink cardstock and paired it with a white shadow die cut for some contrast. I popped both the image and sentiment up with foam adhesive to give them some dimension, and then added a few watermelon sparkle spots around the card for that extra touch of magic. I had so much fun creating this card, and I hope you'll join me and my friends on Instagram to hop along and celebrate the new release! Click here to shop the new collection and get your hands on all these amazing products from Trinity Stamps!

PIN THIS
SUPPLY LIST

Read More

Cheers! Terrarium of Mushrooms Birthday Card

Wednesday, January 29, 2025

I’m so excited to share the card I created for last Friday’s episode of Craft Roulette! This project was such a fun challenge, and I got to use a combination of some of my favorite supplies to create a mini slimline card with a cozy, earthy vibe. The design started with layering patterned paper in red, brown, and green, which I die cut using the Popsiclesticks Mini Slimline Scalloped Frame and Stitched Layers dies. These layers came together beautifully to create a doily-like effect with the scalloped edges, setting the stage for the rest of the card.

To add a whimsical touch, I stenciled mushrooms (with "caps") and leaves using the Pinkfresh Studio – The Magic Is In You Stencil Set and coordinated them with the matching dies. These adorable elements were paired with a terrarium die cut from aquamarine and nubuck brown cardstock, bringing the whole foresty theme to life. For the sentiment, I stamped “Cheers!” from the Scrapbook.com Happy Birthday Stamp Set in Pinecone VersaFine Clair Ink, then die cut and added it with foam adhesive for extra dimension. I love how the mix of textures and earthy colors (inspired by a lumberjack) makes this card feel warm and inviting. If you're looking for a project to bring a little magic to your card-making, give this one a try!

PIN THIS
SUPPLY LIST

Read More

Celebrate Snowflake Winter Card with Pretty Pink Posh

Tuesday, January 28, 2025

I'm so excited to share this gorgeous snowflake celebration card with you today. I think this design works perfectly for the new year or any winter celebrations. For this card, I used a mix of products, including the Snowflakes Stamp Set and Coordinating Dies, the Large Celebrate Hot Foil Plate and Shadow Dies, and the Cascading Snowflakes Stencil. I started by creating a background using a fun blend of Distress Oxides in Salvaged Patina and Uncharted Mariner. These two colors work together beautifully to create a frosty, wintery effect. After ink blending, I used the largest Eyelet Squares Dies to cut out a panel, which will serve as the focal point for my design.

Next, I added some sparkle and texture with Clear Skies Astro Paste from Simon Hurley create. This glittery stencil paste gave the snowflakes a gorgeous shimmer, and I just love how they pop against the blue background. I couldn’t resist showing you the stencil reveal in today’s video—it's always such a satisfying moment when the glitter paste dries and shimmers even more. While waiting for the paste to set, I moved on to the sentiment. I used the Large Celebrate Hot Foil Plate with Moondust Glimmer Foil to create a shiny, eye-catching sentiment. The glimmer foil adds such a beautiful, elegant touch, and it complements the shimmer from the snowflakes perfectly. Once everything was dry, I assembled the card. 

To add dimension to my sentiment, I used foam adhesive to follow the curve of the script, ensuring the word "celebrate" really stood out. I also adhered the snowflakes in a cascading pattern across the card, adding them at different angles to create movement. The combination of the stenciled snowflakes, shimmering foil sentiment, and foam layers adds so much texture and dimension to the design. I’m really happy with how this card turned out—it’s simple yet elegant, and the shimmer really makes it pop. Whether you use this for a future holiday card or a New Year’s greeting, I hope this inspires you to try something new in your own crafting! Happy crafting, and I'll see you next time!

VIDEO TUTORIAL


PIN THIS
SUPPLY LIST

Read More

Love Bug Valentine's Day Card with Cardstock Warehouse

Monday, January 27, 2025

Hi, friends! I’m very excited to share with you my first project being a part of the Cardstock Warehouse Design Team! I recently taught my daughter how to play “slug bug” and we love when we see a Volkswagen Bus. When I saw the adorable Flower Power dies from A Pocket Full of Happiness, I knew I wanted to make a multi-colored bus and the beautiful Woodstock Cardstock Collection was perfect!

Once I narrowed down which colors I wanted to use from the Woodstock Cardstock Collection, I cut the “Love” sentiment and Hippie Bus dies as well as the shadow pieces from White. I adhered the pieces and sentiment together with liquid adhesive onto the shadow pieces. I trimmed down a piece of Rosa to 4x5-¼” and stenciled on hearts with Abandoned Coral Distress Oxide. I also splattered on white paint and set it aside to dry.

I cut and scored an A2 card base and used a tape runner to adhere the stenciled background to the card base. I used foam adhesive to attach the die cut sentiment and image to the card. I love how colorful this valentine turned out and that I can make many more with my extra die cuts. The Woodstock Cardstock’s beautiful colors with an environmentally conscious papermaking process using 80% recycled content and 20% sustainably cultivated pulp not only make beautiful cards but you feel good using it, too!

You can head over to the Cardstock Warehouse Blog to see details of my card process with pictures! Make sure to leave a comment over there for any future ideas you'd like to see from me.

PIN THIS
SUPPLY LIST

Read More
Winter Wand-erland - New Release from Miss Ink Stamps

Saturday, January 25, 2025

Hey friends, welcome back for another “Christmas on the 25th” project. Today, I’m sharing a fun winter card featuring new stamps from the Miss Ink Stamps release. This magical card combines the newly released "Magical World," "Snow Wizard," and "Horizon Pines" sets to create a whimsical, frosty scene. I started by stamping, coloring, and die-cutting the castle, snowman, and trees with OLO markers and coordinating dies. For the background, I used Weathered Wood and Stormy Sky to create a moody winter sky and Tumbled Glass for a subtle frozen lake effect. The rustic woodgrain frame and snowy elements tie the whole design together, creating a cozy yet magical vibe.

Once the pieces were ready, I used liquid glue and foam adhesive to assemble the scene, adding dimension and fun details like highlights with a white gel pen. The snowman’s scarf and hat are inspired by a certain wizarding house (my favorite!) for a personal touch. I finished the card with the sentiment “Walking in a Winter Wonderland,” stamped in black and bubble-cut for a playful look. This card is perfect for winter greetings, holidays, or a fandom-inspired surprise! Be sure to watch my full YouTube tutorial for a closer look at the process and use the links below to shop the entire Miss Ink Stamps release. Happy crafting, and I’ll see you in the next one!

VIDEO TUTORIAL


PIN THIS
SUPPLY LIST

Read More

Go Wild Fandom Friday Video with Miss Ink Stamps

Friday, January 24, 2025

Hi friends! I’m thrilled to share the creative process behind my first official Miss Ink Stamps design team card project—a fun, jungle-themed scene featuring stamps, stencils, and vibrant watercolors. I started with a piece of watercolor cardstock and the large scene stamp from Jungle Ruins, paired with an adorable orangutan stamp. I embossed the images using Versafine Clair in Pinecone and clear embossing powder. This technique not only sharpens the lines but also creates little “wells” that make water coloring more precise—a lifesaver when working with intricate designs like this one.

Watercoloring is where the magic truly happens. I started with a blue for the sky and gradually worked my way through greens for the jungle foliage. For the tree trunks, monkeys, and ruins, I used warm browns, blending darker and lighter shades to add depth. Each layer of color brought the scene closer to life, and I made sure to let sections dry before moving to adjacent areas to avoid any unwanted bleeding.

Adding dimension with the Perspective Floor Stencil was the final touch for the background, giving the card a grounded, 3D effect. Once my background was complete, I turned my attention to the orangutan using orange shades where I carefully colored his fur and features. After fussy cutting him out and stamping a playful sentiment—“It’s your day to go wild!”—I assembled the card with foam adhesive to add dimension. A few sequins from my stash completed the look, tying the colors together beautifully.

I hope you enjoyed this peek into my creative process with watercolors and perspective stencils! You can watch the YouTube video to get more details in how I colored and assembled the card. If you’ve tried this stamp set or the perspective stencil, I’d love to hear about it. Let me know in the comments below, and here’s to a year full of creativity and crafting adventures!

VIDEO TUTORIAL


PIN THIS
SUPPLY LIST

Read More